The Only Four Knives a Home Cook Actually Needs (and Where to Spend vs Save)
A fifteen-piece knife block is a marketing product, not a cooking one. Here are the only four tools you need, the science of which steel to buy, and how to keep them sharp for life.
Charles Kim·Chef Fatty
June 2, 2026
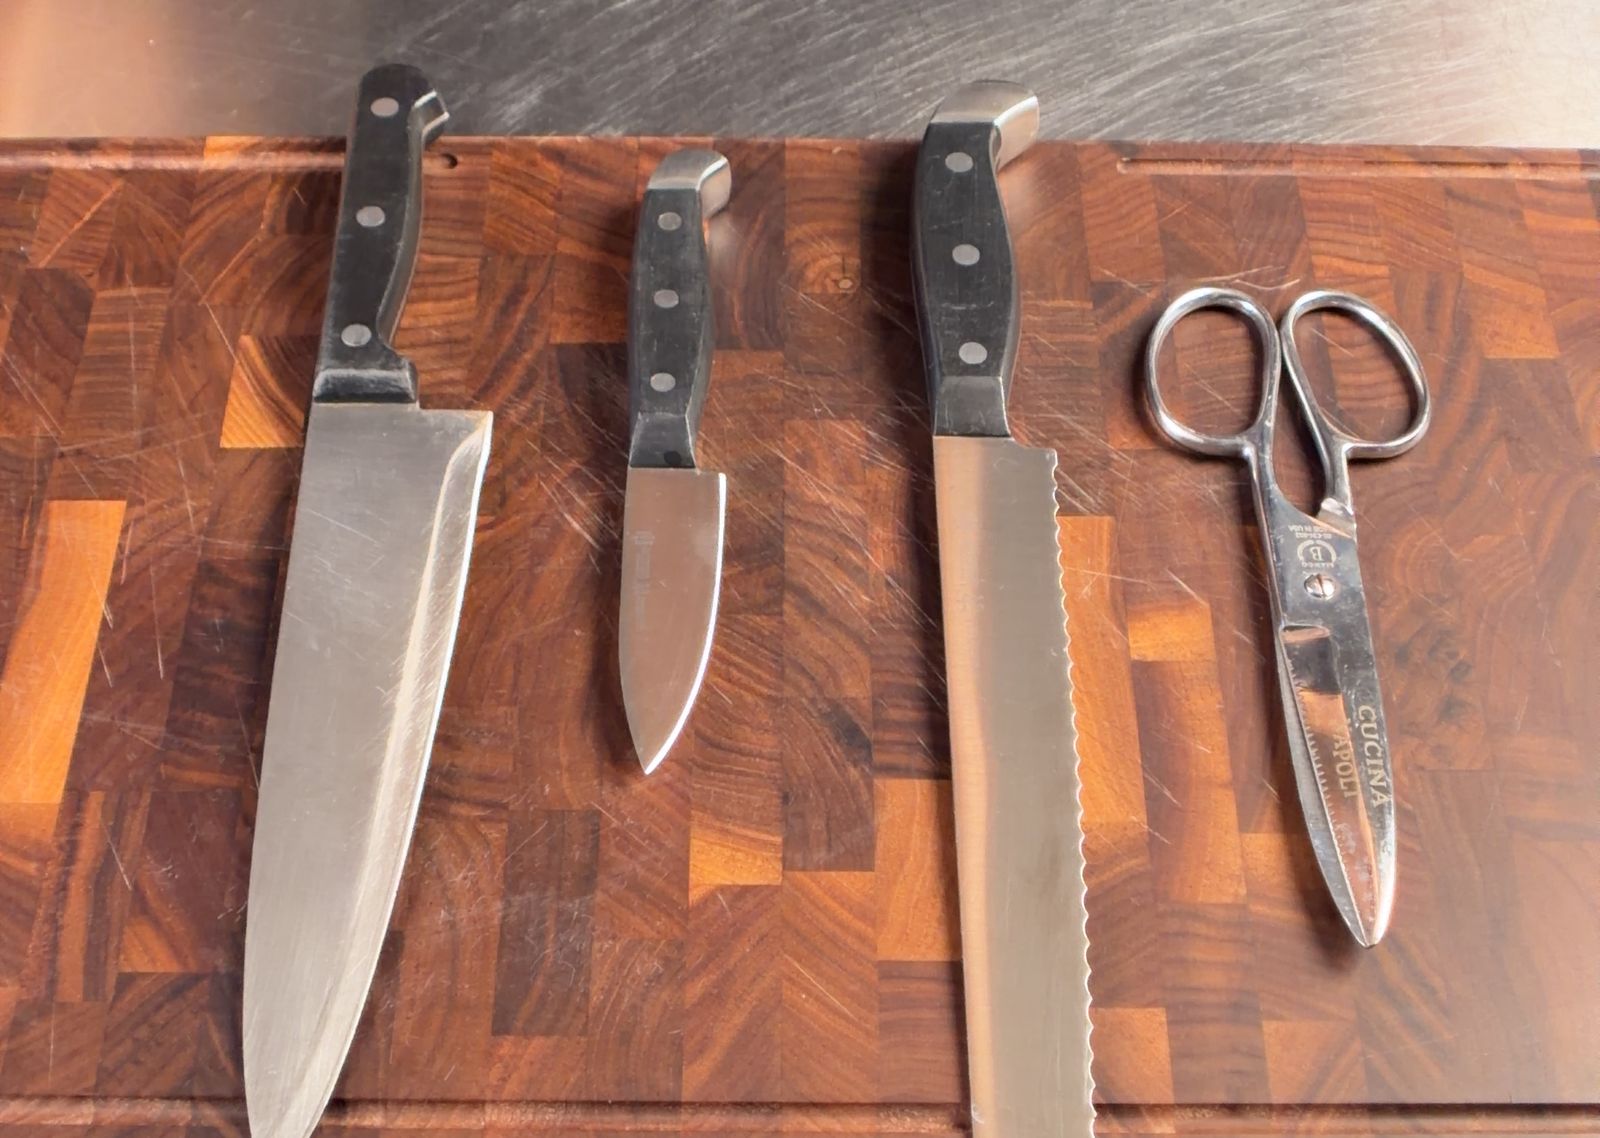
The whole kit: a chef's knife, a paring knife, a bread knife, and a pair of kitchen shears. That is everything most home cooks need.
Walk into a kitchen store and you will see knife blocks with fifteen pieces. Walk into a real restaurant kitchen and you will see cooks grab the same three or four knives all day.
The big knife block looks like a deal. It is not. You are paying for a wooden stand, a set of steak knives, and four or five special knives that will sit untouched for years. And to keep the price low, the maker uses cheaper steel on all of them. You get more knives, but worse knives.
Here is what you actually need: four tools. And the smart way to buy them is the opposite of what most people do.
1. The one rule: spend on what you cannot sharpen, save on what you can
This is the whole idea, so read it twice. Yes, a pricier, harder knife does hold its edge a little longer. But here is the catch: sharpening a basic knife takes about 30 seconds, so that longer edge life barely matters at home. A cheap knife you sharpen often will cut just as well as a costly one you let go dull. So for the knives you can easily sharpen yourself, buy cheap. For the tools you cannot easily sharpen, like the bread knife and shears, buy nice so they last for years. That one rule tells you where to spend every dollar.
2. The four tools you need
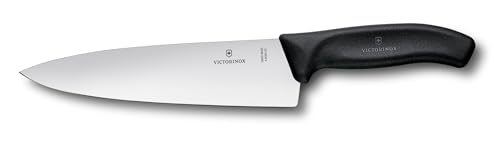
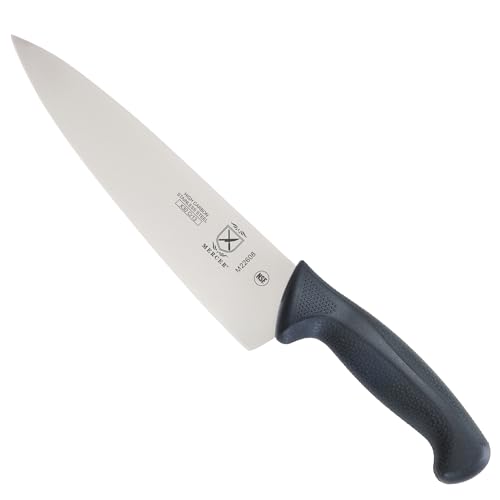
Chef's knife
This does 90% of the work: chopping, slicing, and dicing. If you only owned one knife, it would be this one. An 8 inch (20 cm) blade is the best size for most people. It is long enough for big vegetables and short enough to control easily. A cleaver works here too if that is your style.
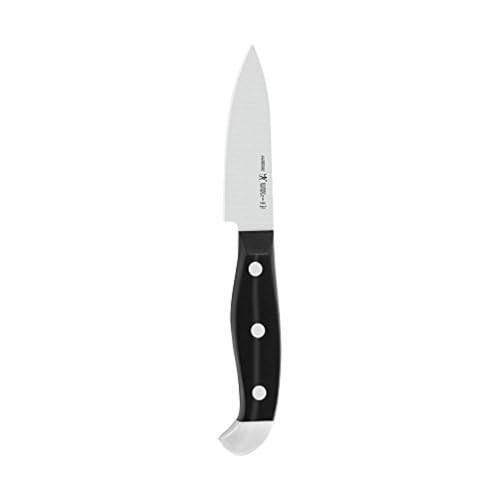
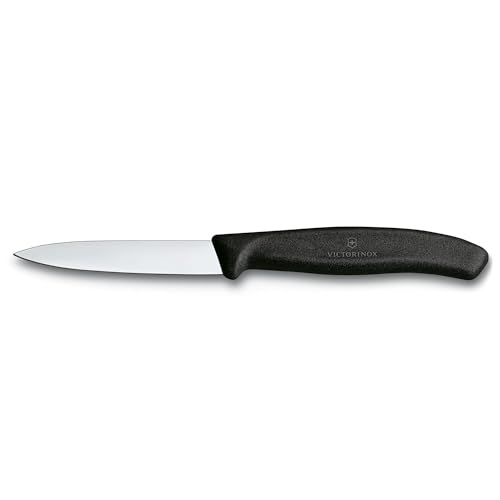
Paring knife
For the small jobs. A big chef's knife is clumsy for little tasks like peeling, trimming, or hulling strawberries. A small 3 to 4 inch (8 to 10 cm) paring knife handles all of that, and they cost almost nothing, so there is no reason to skip it.
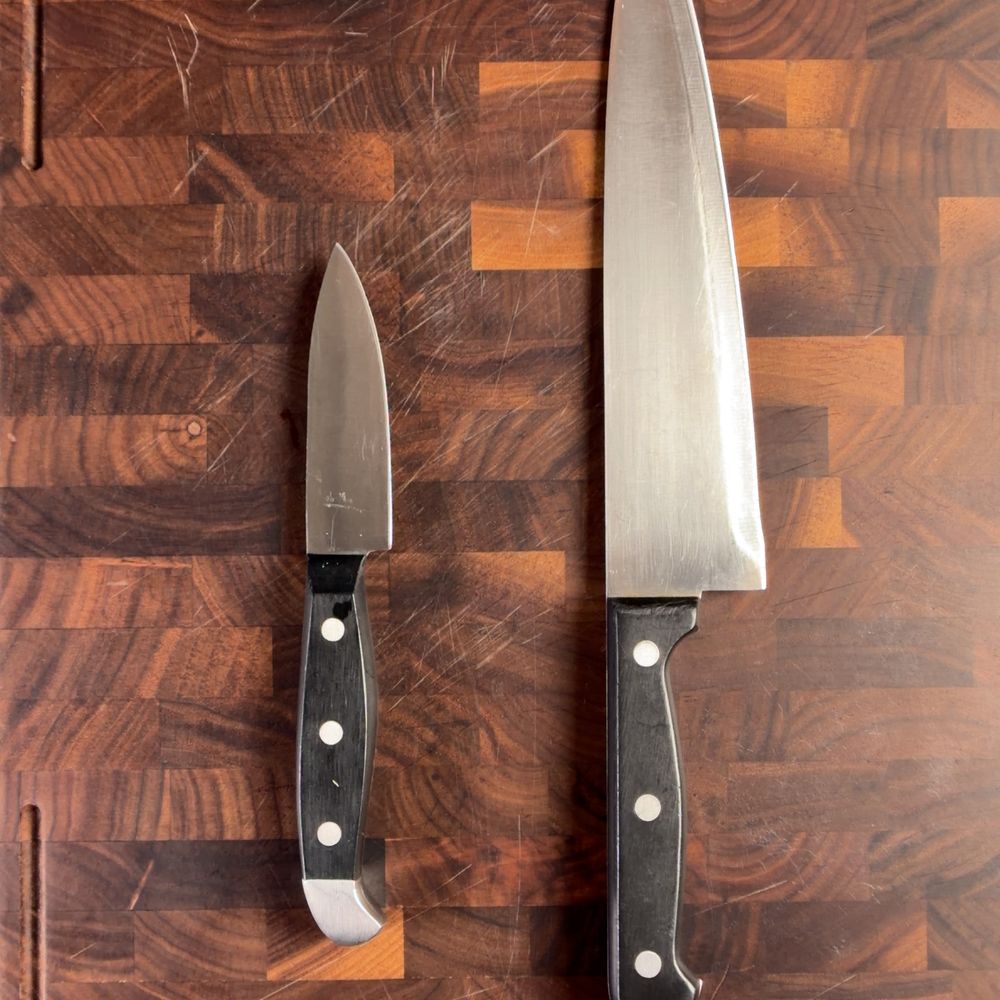
Your two everyday knives: a chef's knife and a paring knife.
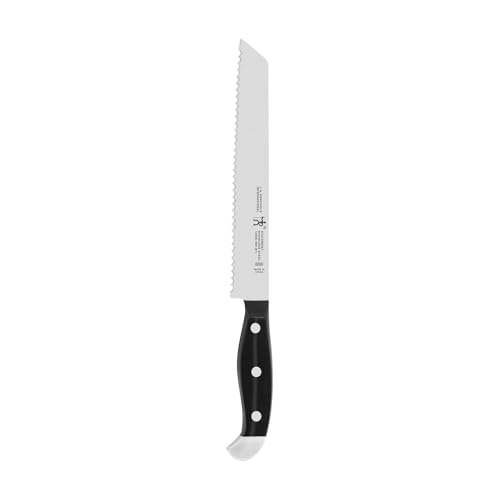
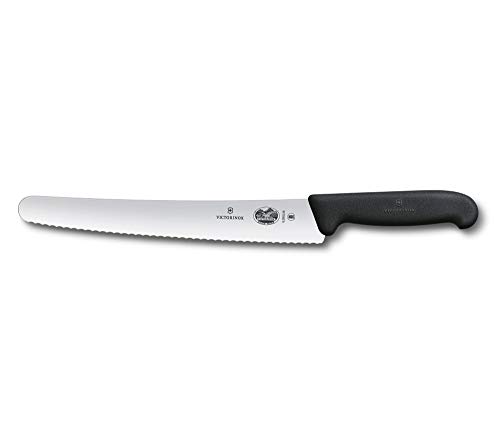
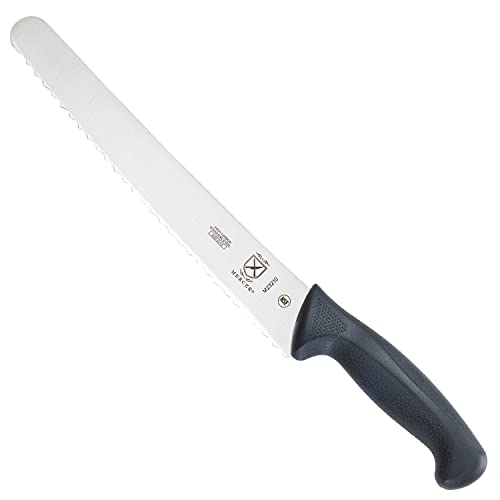
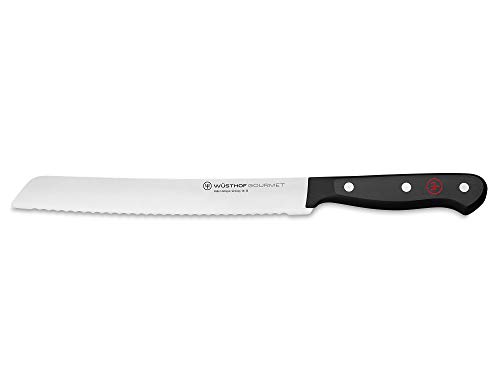
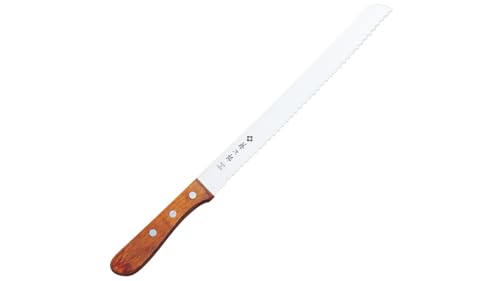
Bread knife
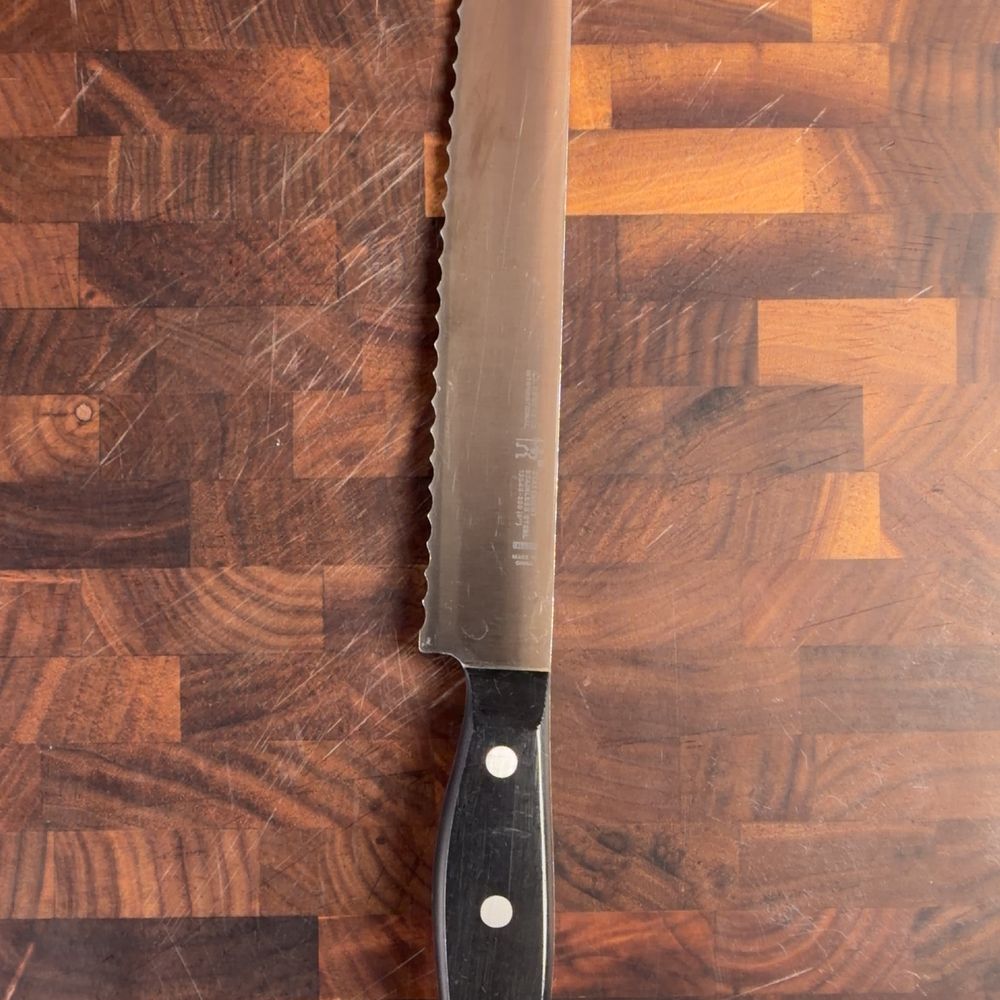
For what a straight blade cannot do. A straight edge slips and squashes anything with a hard outside and a soft inside, like crusty bread or a ripe tomato. The serrated edge (the saw-tooth edge) grabs and saws instead of sliding. Nothing else can do its job.
The bread knife. The saw-tooth edge grabs and saws through anything a straight blade would crush.
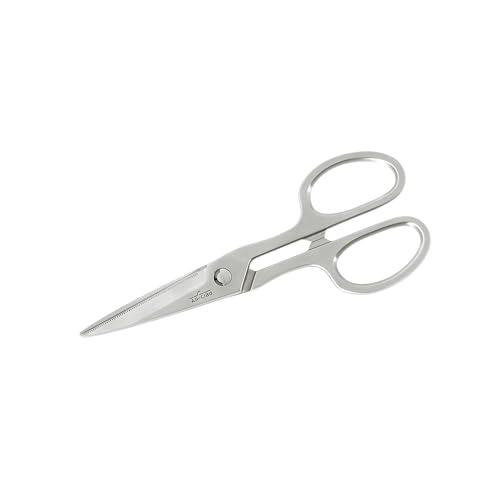
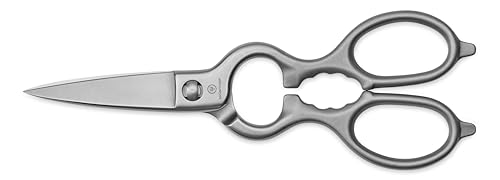
Kitchen shears
The most underrated tool in the kitchen. Cutting up a whole chicken, snipping herbs, trimming fat, opening packages, cutting string. Most people own a cheap pair and forget about them. A good pair is one of the most used tools on your counter, and it can last you a lifetime.
Kitchen shears. A good pair gets used every day and lasts a lifetime.
3. Why not the knife set?
Because most of what comes in a knife set is filler you will rarely touch. Here is the stuff you do not need, and why it is in there:
Santoku knife. Just another chef's knife in a different shape. Your chef's knife already does the job.
Utility knife. An in-between size that your chef's knife and paring knife already cover between them.
Boning knife. For taking apart whole cuts of meat. A home cook does that a few times a year, and a chef's knife or your shears handle it.
Carving knife and fork. For slicing a holiday roast, which is maybe twice a year. Your chef's knife slices a roast just fine.
Six to eight steak knives. These are table knives for eating, not tools for cooking.
The wooden block. Just storage you are paying extra for.
That is the bulk of the set, and it is either a repeat of a knife you already have or a tool you will use twice a year. Worse, to hit that low sticker price, the maker usually puts cheaper steel in everything, including the few knives you actually want. You end up paying for a dozen so-so pieces just to get the handful you use.
4. The science of steel
Steel is rated for hardness with a number called the Rockwell score, or HRC. The higher the number, the harder the steel. This one thing explains almost everything, and almost nobody talks about it.
Soft steel (most Western and German knives, about 54 to 58 HRC) gets dull a little faster. But it is easy to sharpen, tough, and forgiving. Common types are X50CrMoV15 (also called 1.4116, used in German knives) and 8Cr13MoV or 5Cr15MoV (used in many good budget knives, a lot of them made in China). Cheap and Chinese-made does not mean bad here. A simple soft stainless knife you keep sharp cuts great.
Hard steel (most Japanese knives, about 60 to 65 HRC) holds its edge longer. But it is brittle, a bit like glass, so it can chip, and it needs a special stone to sharpen. Common types are VG-10, AUS-10, and SG2 (also called R2), plus the carbon "white steel" and "blue steel" used in traditional Japanese knives.
So why do people love hard Japanese knives? A few real reasons. The hard steel holds a razor edge much longer, so it stays scary sharp through a lot of cutting. This matters most to people who cook for a living. A line cook or a sushi chef is cutting all day, so a blade that keeps its edge for hours, instead of needing a touch-up every little while, is a real advantage. It can also be ground much thinner and at a finer angle, so it glides through food and makes clean, precise cuts, which matters for delicate work like slicing fish for sushi. And many are hand-forged by skilled makers, so they are beautiful to look at and a joy to use. For a serious cook, that is worth a lot.
So why are they so expensive? They are often made from premium steel and forged and finished by hand, sometimes by one craftsman over many steps. Harder steel is also harder to grind and shape, so it takes more skill and time. Add in the brand and the tradition, and the price climbs fast. Prices run a wide range: a solid entry-level Japanese knife starts around $80 to $150, mid-range hand-finished ones run $150 to $400, and high-end knives from named makers go from $400 to well past $1,000, with collector pieces higher still. It is a real, lovely tool. It is just not necessary for most home cooks, who would rather spend 30 seconds sharpening a cheap knife than baby an expensive one.
That is the surprising part: for cooking at home, soft steel is the better pick. Not because hard steel is bad, but because what really keeps a knife sharp is how easy it is to take care of. A cheap soft knife you touch up in 30 seconds will out-cut a pricey hard knife you let go dull because sharpening it felt like a chore.
And to be clear: an expensive knife does not make you a better cook. A sharp $7 knife in good hands will out-cook a dull $300 one every time. Your technique and a sharp edge matter far more than the price tag.
A myth that costs people money: a Japanese shape is not the same as Japanese steel. Lots of cheap knives have a Japanese-style shape but soft Western steel inside. The shape tells you nothing about the steel. What matters is the hardness. When you shop, look for these hard steels on the label or listing: VG-10, AUS-8, AUS-10, SG2 (also called R2), or ZDP-189, plus the Japanese carbon steels white steel (Shirogami), blue steel (Aogami), and yellow steel (Kigami). Or just look for an HRC number of about 60 or higher. If you do not see any of that, it is soft steel, and an electric sharpener is fine.
Why does sharpening even matter?
Two reasons. A sharp knife cuts cleanly, so cooking is faster and more pleasant. But the bigger one is safety, and this sounds backwards: a dull knife is more dangerous than a sharp one. A dull blade slides and skids across the food instead of biting in, and that slip is exactly how people cut themselves. A sharp knife goes where you aim it and stays there. So keeping your knives sharp is not just about performance, it is how you avoid a trip to the emergency room.
What about ceramic and carbon steel?
You will see two other materials, and most home cooks do not need either one.
Carbon steel is not stainless. It takes a very sharp edge and is easy to sharpen, which is why many traditional Japanese and Chinese knives use it (white steel and blue steel are kinds of carbon steel). The catch is that it rusts fast. You have to dry it right after every use, and it reacts with acidic food and turns dark. Great if you enjoy the upkeep, a hassle if you do not.
Ceramic knives are very hard and stay sharp for a long time, and they never rust. But they are brittle like a plate. Drop one or twist it in the middle of a cut and the edge chips or the blade snaps. You also cannot sharpen them at home. For most people, they are more trouble than they are worth.
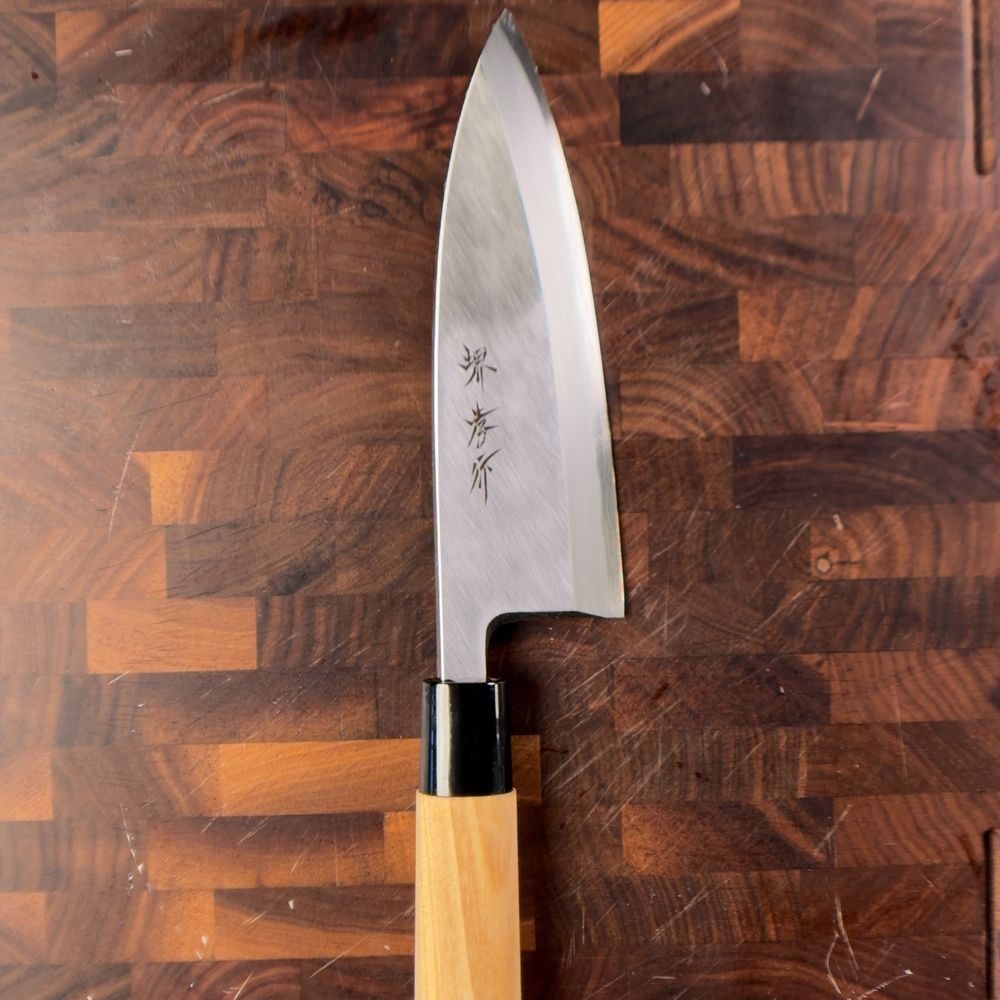
A hard Japanese knife. It holds an amazing edge, but it is brittle and needs a whetstone, never an electric sharpener.
5. How to keep them sharp
To take care of a knife, it helps to know how the edge is built. The blade is thick at the spine, the top, and it gets thinner and thinner until it reaches the edge. That very edge is incredibly thin, almost too small to see. That is what lets it slice.
But a thin edge is fragile. Every time you cut, the edge bends a tiny bit to one side. Do that enough and the edge folds over and feels dull, even though no metal is actually gone. Over more time, tiny pieces can chip off too. Knowing this, there are two ways to bring a knife back, and they are not the same thing.
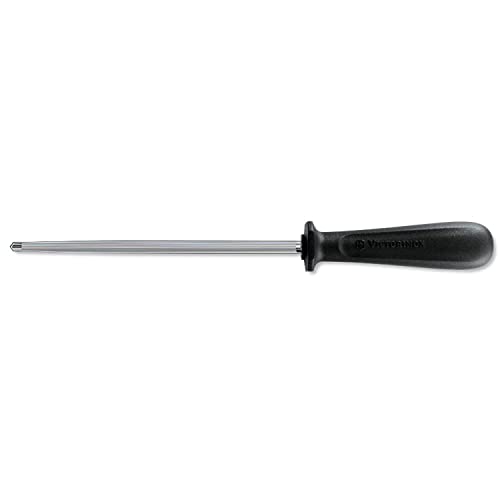
Honing straightens the edge. When that thin edge bends over, a honing rod (the long metal rod) pushes it back straight. It removes almost no metal. Think of it like combing a bent edge back into line. You do this often, even before each use, and it keeps a sharp knife sharp.
A honing rod. It straightens a bent edge. It does not sharpen, it realigns.
Sharpening grinds a new edge. After a while, honing stops working because the edge is truly worn down or chipped. Now you have to grind away a little metal to form a fresh, sharp edge. You only do this every few months.
There are a few ways to grind that new edge. Here is what each one is and who it is for:
Whetstone (sharpening stone). A flat stone you rub the blade across by hand. Best for hard Japanese knives and anyone who wants the sharpest, most precise edge. It gives you full control of the angle and the finest edge, but it takes practice.
Electric sharpener. A motor spins sharpening wheels inside slots, and you pull the knife through. Best for soft everyday knives. Fast and foolproof, about 30 seconds. It is too aggressive for hard, brittle Japanese steel.
Pull-through sharpener. A small handheld tool with a V-slot you drag the knife through by hand. Best for quick touch-ups on cheap knives. It is cheap and needs no power, but it removes a lot of metal and leaves a rough edge, so it is not for nice knives.
Rolling sharpener (the cylinder kind). A magnet holds the blade at a set angle while you roll an abrasive cylinder along the edge. Best for people who want stone-quality results without the freehand skill, on either Western or Japanese knives. It locks the angle for you, but it costs more.
Guided or belt system. A clamp or a motorized belt holds a set angle for you while you sharpen. Best for getting consistent results without practice. The sharpener I use is in this family.
One reminder: a honing rod is not on this list, because it straightens the edge, it does not grind a new one.
How to hone (do this often)
Stand the rod straight up with the tip resting on the counter. Put the back of the blade near the top of the rod at a slight angle, about the width of two stacked coins. Then draw the blade down and toward you, from tip to heel, in one smooth motion, like you are shaving a thin slice off the rod. Do about five light strokes on one side, then five on the other, switching back and forth. That is it.
Honing. Light, even strokes down the rod, the same angle on each side. A few seconds before you cook keeps the edge true.
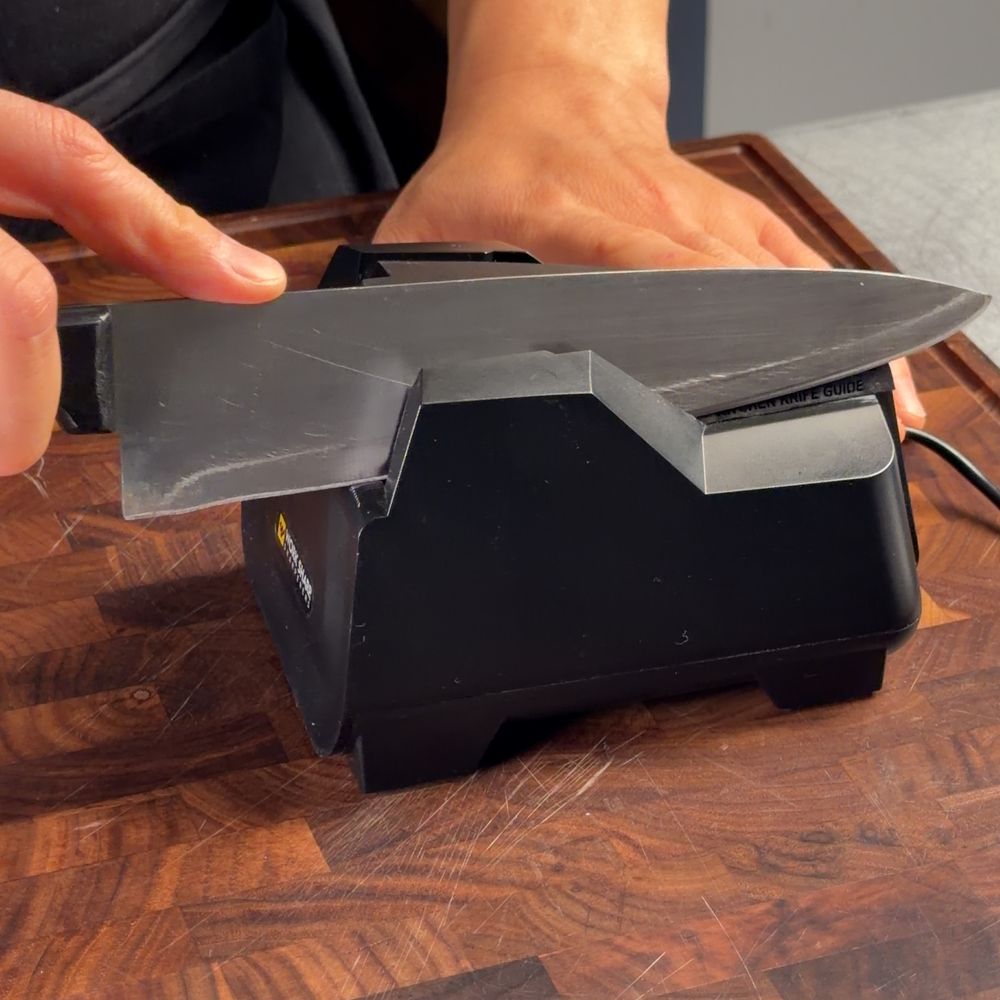
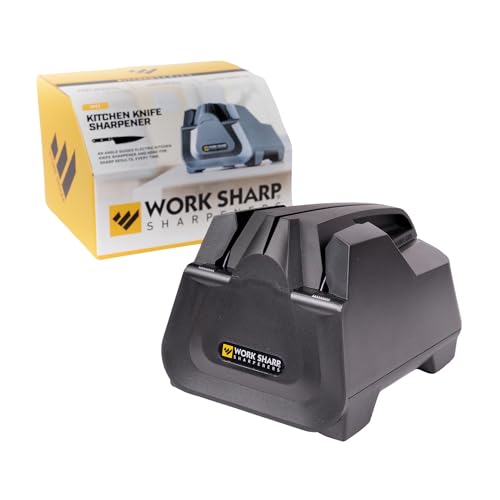
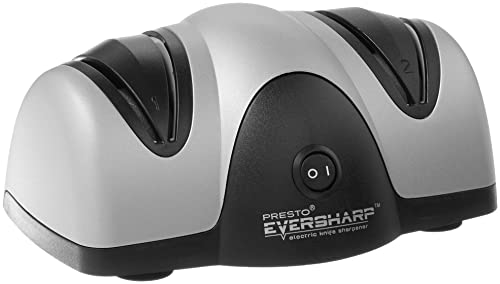
Sharpening soft steel: use an electric sharpener
For your soft-steel chef's and paring knives, almost any method works. A whetstone works, a pull-through works, a rolling sharpener works. But for most people the electric sharpener is the best pick, because it is the fastest and most foolproof. You pull the blade through the slots a few times and you are done in about 30 seconds. The sharpener I use, and a few other good ones, are in the buying guide below.
An electric sharpener is perfect for soft Western steel. About 30 seconds and it is sharp again.
Sharpening hard Japanese steel: use a whetstone
Never put a hard Japanese knife in an electric sharpener. The spinning wheels chip the brittle steel and grind it to the wrong angle. Instead you use a whetstone, which is a flat stone block you rub the blade across to grind a fresh edge by hand. The one I use is in the buying guide below.
Here is the step by step:
Soak the stone. Put it in water for about 10 minutes, until the bubbles stop rising. The surface needs to stay wet the whole time you sharpen.
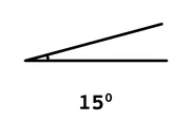
Find your angle. Lay the blade almost flat on the stone, then lift the spine to about 15 degrees. An easy trick: hold the blade straight up, tilt it halfway down, then halfway again. That last small tilt is about right.
Slide it across. Hold that angle steady and slide the blade up and down the stone. Move along the edge as you go, from tip to heel, so the whole edge gets ground. Use light, even pressure.
Do both sides. Most Japanese knives a home cook owns are sharpened on both sides. Flip the knife and do the other side the same number of strokes.
Start rough, finish smooth. Begin on the rough side of the stone to grind the new edge, then switch to the smooth side to polish it.
About 15 degrees. A low, shallow angle.Sharpening on a whetstone. Hold a steady angle and run the whole edge across the wet stone, both sides, rough grit first then smooth.
What about the bread knife and the shears?
You do not sharpen these the normal way at home.
For a bread knife, you cannot easily grind a saw-tooth edge yourself, so you have three options. One, take it to a professional sharpening service. Search "knife sharpening near me" or "serrated knife sharpening," and check hardware stores, kitchen stores like Sur La Table, and farmers markets, which often have a mobile sharpener. Two, do it yourself with a tapered sharpening rod that fits into each tooth, though it is fiddly. Three, since a good one is cheap, just replace it when it finally dulls, which takes years.
For kitchen shears, you can actually sharpen them at home with the Work Sharp sharpener I recommend below, it handles shears too. Or take them apart and run each blade across a whetstone.
6. What I actually recommend, and why
These are the tools I have used and trust, and they are also pretty popular. The first pick in each list is exactly what I bought and use. The rest are other good, well-liked brands.
Chef's knife
Buy cheap here. You sharpen this knife yourself, so paying extra for fancy steel you would just grind away is not worth it. Look for soft German stainless steel (the code X50CrMoV15 on the label).
My pick
Chef Craft Chef's Knife (about $7)
Yes, it really is about $7, and it genuinely works great. It is what I use now and in the video.
Buy nice. You cannot easily resharpen the saw-tooth edge, so get one that holds its edge for years. Nice does not mean pricey though. Look for an offset handle and a 9 to 10 inch (23 to 25 cm) blade.
My pick
HENCKELS Statement Bread Knife, 8-Inch
My pick. Holds a sharp serrated edge and feels solid in the hand.
Buy nice. Look for one solid piece of stainless steel, with no plastic handles to crack and no cheap joint to rust. Even better if it comes apart so you can clean it after raw chicken.
My pick
Cucina Napoli Kitchen Shears (by Bianco Instruments)
The pair I use. One solid piece of stainless steel, still razor sharp after years.
7. The math: a whole kitchen for about $100, for life
Add it up. A chef's knife, a paring knife, a bread knife, and a pair of shears come to about $80 to $150 together. Add an electric sharpener and a honing rod and you are still under $200, for tools that will last longer than most of your appliances if you keep them sharp. Compare that to a $300 knife block where half the knives never leave the slot.
Four tools. The right steel. A sharpener you will actually use. That is the whole game.
Weekly articles
Enjoy the science? There's more every week.
New food science article every week. Sign up free to get notified, or go ad-free with membership.
Every Asian stir-fry sauce is the same four dials you turn up or down: salty and umami, aromatic, sweet, and acid, plus heat. Learn the chemistry behind each one, and how one base sauce becomes five.