How to Actually Clean a Wooden Cutting Board (The Science)
Lemon and salt does not actually clean your board. Here is the science of what does, why wood is naturally antibacterial, and the complete care guide.
Charles Kim·Chef Fatty
July 17, 2026
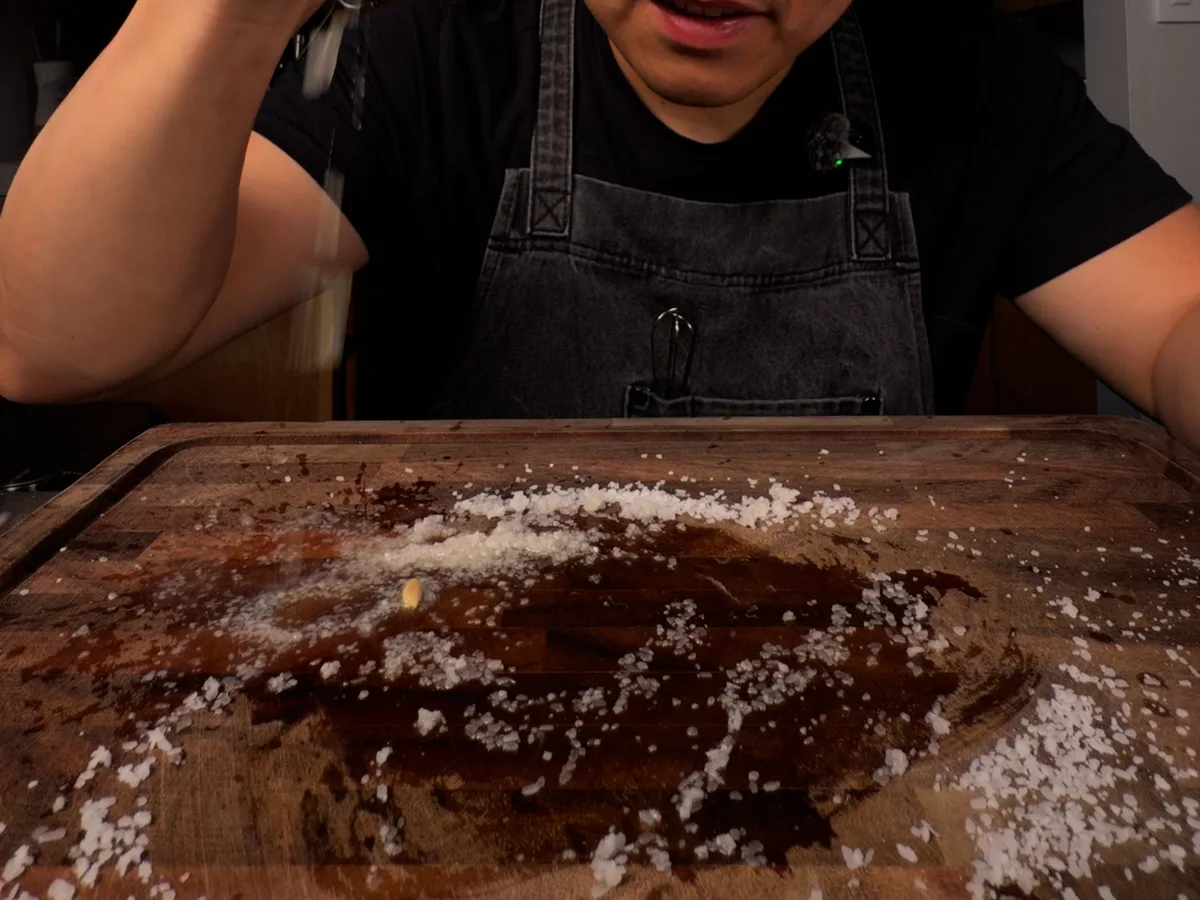
The classic move: a squeezed lemon over a salted board.
You have seen the move a hundred times. Salt on the board, half a lemon, scrub in circles, rinse, done. It looks like cleaning. It smells like cleaning. It is not cleaning.
Lemon and salt handles the cosmetic stuff, a little staining, a little smell. It does nothing to the two things that actually matter on a cutting board: the germs and the grease. So let us go through what really lands on that board, what removes each thing, and why plain soap beats the folk remedy every time. Then the full care guide, from everyday washing to when to throw the board out.
Note: This guide is for wooden and bamboo boards. Separate guides for plastic, glass, stainless steel, and rubber boards are coming soon.
What actually lands on a cutting board
Three different things end up on the surface, and they come off three different ways.
Germs. Bacteria, and some viruses. This is the food-safety category. Raw chicken, raw meat, raw seafood.
Grease. Fats and oily food residue. This is the film that builds up and can turn rancid.
Stains and odors. Pigment from turmeric or beets, and smells from onion, garlic, or fish. This is the cosmetic category, and it is the only thing lemon and salt is any good at.
People reach for lemon and salt because it fixes the visible problem, the stain and the smell, and assume it fixed the invisible one too. It did not.
Why soap works and lemon and salt cannot
Here is the part nobody explains. Grease is oil. And most germs are wrapped in fat: bacteria have a lipid (fatty) membrane, and many viruses, like flu and coronaviruses, have a fatty outer envelope. Oil does not mix with water. That is why rinsing alone, or splashing acidic lemon juice around, cannot lift grease or a fat-wrapped germ off the surface. The water just runs over the top of it.
Soap is built to solve exactly this. A soap molecule is a surfactant, which means it has two ends: a water-loving end and a fat-loving end. The fat-loving end digs into the grease and into the germ's fatty membrane and pries it apart. The water-loving end then drags the whole mess away when you rinse. That two-ended shape is the entire trick, and it is why soap cleans and lemon does not. Salt and lemon are not surfactants. They cannot grab oil. Salt only scrubs (it is an abrasive), and lemon only adds acid.
That is also why soap handles germs it cannot dissolve. Soap removes germs two ways at once: it dissolves the fatty membrane on the ones that have it, and it physically lifts every germ off the surface so the rinse water carries it away. So even a germ with no fatty coat still gets washed off.
It helps to know which is which. The oily kind, which soap tears apart fast, includes enveloped viruses like flu and coronaviruses, and gram-negative bacteria like E. coli, Salmonella, and Campylobacter, the big raw-meat and poultry offenders. The non-oily kind, which soap still rinses away, includes norovirus and hepatitis A, and gram-positive bacteria like Staph and Listeria.
The useful takeaway: the germs you most worry about from raw meat are the oily kind, so soap grabs them well, and the hardy non-oily ones are exactly why you also sanitize after raw meat. Remember the difference, because it runs through this whole guide: soap and water remove germs, a sanitizer kills them, and after raw meat you want both.
What about antibacterial soap? Skip it. The cleaning is the surfactant physically washing germs away, not any added germ-killer. In 2016 the FDA banned triclosan and 18 other antibacterial additives from consumer soaps, finding no evidence they beat plain soap and real concerns about antibiotic resistance and hormone effects. Plain dish soap is just as good on a cutting board.
Isn't soap bad for a wood board? No. Soap is water-soluble, so it rinses off cleanly and has nothing to anchor to in clean wood. It does not soak in and stay.
The real enemy of a wood board was never soap. It is water, from soaking or the dishwasher. Wash with soap, keep the soaking to a minimum, and the board is fine.
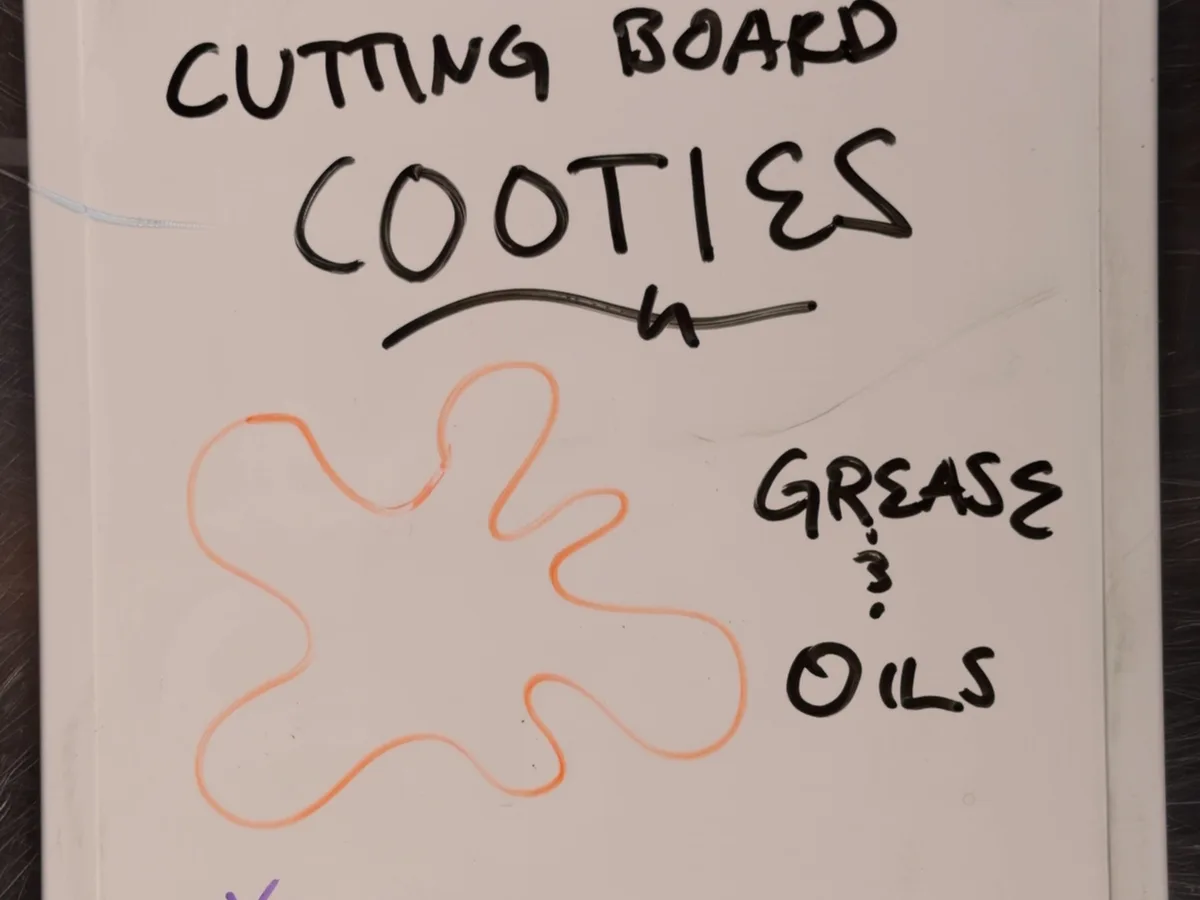
What actually lands on a board: grease, oils, and germs.
Acid versus alkaline: use the right one for the job
If soap is your everyday tool, the two backups are baking soda and lemon (or vinegar). They are opposites, and they are for opposite problems.
Alkaline beats grease. A base loosens and emulsifies grease so it lifts off and rinses away, which is the everyday way soap and mild alkalis clean fat. A strong base can go further and saponify grease, literally splitting the fat into soap, but that is the aggressive end of the scale, not what routine washing does. Acid does neither well. Baking soda works on a greasy board four ways, and the order matters.
First and most important is absorption: it is a fine, high-surface-area powder that soaks up oil like a sponge, so a paste left sitting on a spot draws the loosened oil up out of the pores and holds it, and you brush it away with the grease. Second is mild alkalinity (around pH 8 to 9), which loosens and emulsifies the grease so it releases from the wood.
Third is a small amount of saponification: baking soda is a weak base (pH about 8.3), so it barely touches fresh grease, but it readily turns the free fatty acids in older, rancid grease into soap. That part is real but minor, nothing like the strong-base fat-splitting that lye or bleach does, which is exactly why baking soda stays gentle and does not strip the wood's own oils. Fourth, the grit scrubs. Baking soda is your grease and gunk tool.
Acid beats minerals. Lemon and vinegar are for the opposite category: mineral deposits, hard-water film, rust marks, general brightening, and cutting a fishy smell (fish odor is trimethylamine, a base, so an acid cancels it). That is real, and it is why lemon has a place. It is just a narrow place. Onion and garlic smells are sulfur compounds, not bases, so those belong with the baking soda, which absorbs and neutralizes them.
The rule of thumb: alkaline (soap, baking soda) for grease and organic gunk. Acid (lemon, vinegar) for minerals and brightening. Grease was never an acid's job, which is the whole reason lemon and salt cannot actually clean a board.
The surprising part: wood is naturally antibacterial
Now the objection everyone raises, and the answer that flips it. "If juice from raw chicken soaks down into the wood grain where soap cannot reach, is a wood board a germ trap?"
The opposite is true, and the research is old and solid. Dr. Dean Cliver at UC Davis put Salmonella, E. coli, and Listeria on wood boards and on plastic boards. On the wood, within about three minutes, roughly 99.9% of the bacteria were no longer on the surface, drawn down into the grain, where they then die off gradually over hours to days. On the plastic, they survived, and when left overnight, they multiplied.
The mechanism is capillary action. The wood grain pulls bacteria (and any juice) down below the surface and traps them where they cannot get back to your food. As the board dries, the low moisture, and likely natural antimicrobial compounds in the wood, are thought to kill them off. The exact mechanism still is not fully pinned down. In the studies, once raw-meat-level bacteria had soaked into clean wood, they generally could not be recovered at all.
So you do not need to scrub that chicken juice back out. The wood traps it and kills it. Plastic does the reverse: it keeps bacteria on the surface, sitting in knife grooves where they survive a wash. That is why wood beats plastic. Newer 2024 research from the American Chemical Society suggests wood has some antiviral properties too, though that effect is slower and more variable than the antibacterial one.
Now the honest caveat, because this gets misread. Wood's germ-killing is a backstop, not real-time self-cleaning. It works over hours, not seconds. It does not protect the meal you are making right now. So after raw meat you still wash and sanitize the board (the exact method is below), and you still keep a separate board for raw meat versus ready-to-eat food. The die-off is a safety net under good habits, not a replacement for them.
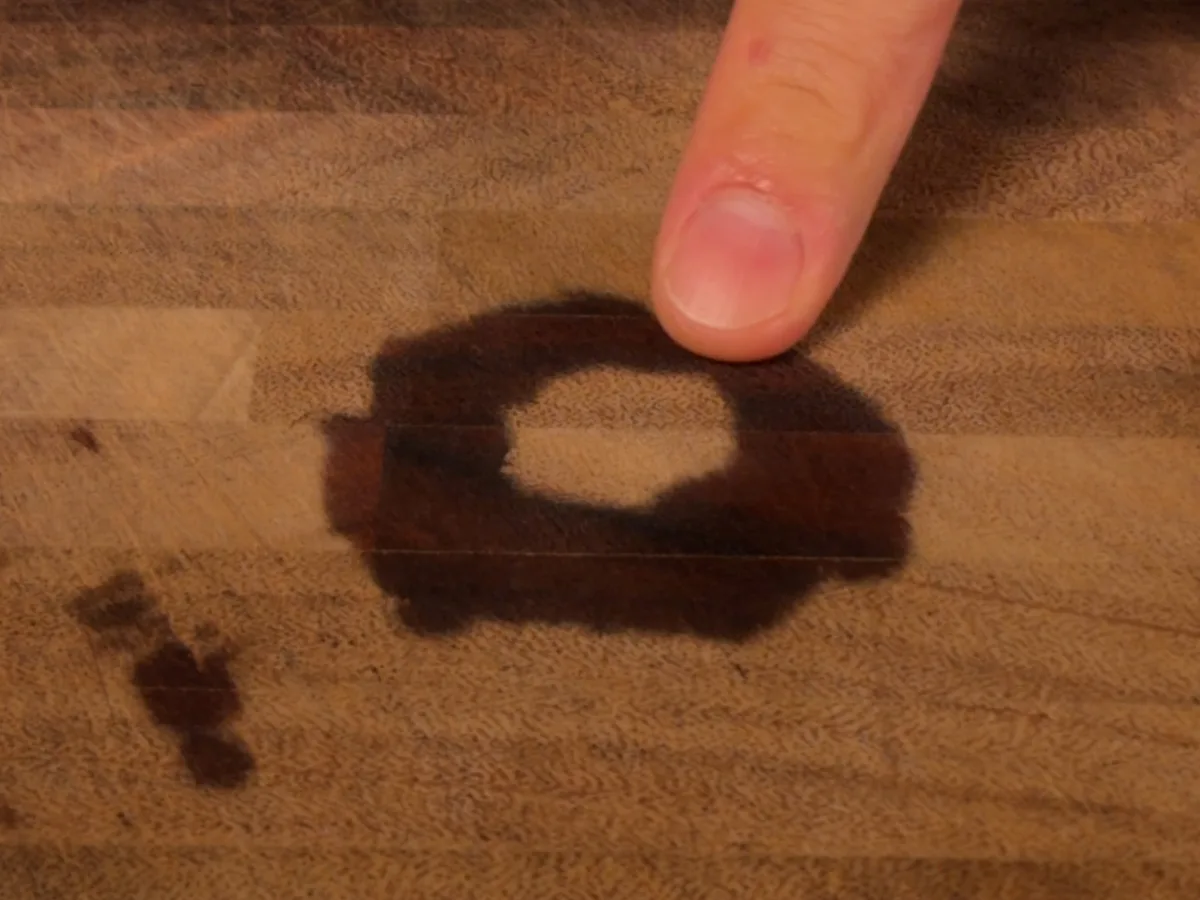
A dark ring soaked into the grain of a bare board.
Mineral oil, never cooking oil
To keep a board sealed so less juice soaks in, you condition it with oil. This is where a lot of boards get ruined.
Condition only with food-grade (USP) mineral oil, or a cream of mineral oil plus beeswax. Mineral oil is inert. It never goes rancid, and it fills the pores so the surface sheds water instead of drinking it.
Never use olive, vegetable, canola, corn, nut, or seed oils. They are unsaturated, which means they oxidize and go rancid inside the wood, where you cannot wash them out. You get a rank smell and an off taste baked into the board. Two specific traps to know: "boiled" linseed oil contains metallic drying agents that are genuinely toxic, so avoid it entirely; and many products sold as "tung oil finish" are actually varnish and solvent blends, so for food contact use only 100% pure tung oil, fully cured, or a product explicitly sold as a cutting-board conditioner.
The complete care guide
That is the science. Here is exactly what to do, from daily washing to buying your next board. The one rule behind all of it: a board is safe as long as its surface can still be cleaned completely. When food or mold gets trapped where you cannot reach, the board is done.
Everyday cleaning
Wash after every use, by hand. Hot soapy water and a scrub brush right after use, focusing on any spot that touched raw food. Rinse, towel-dry both faces, then stand the board on edge to finish air-drying. Prompt washing stops juices from drying on and soaking in. A quick wash beats a long soak every time.
Never soak the board or run it through the dishwasher. Keep water contact to a minute or two. Loosen stuck-on food with a bench scraper or a coarse-salt scrub, then rinse and dry. Wood swells when it soaks and shrinks as it dries, and prolonged water plus dishwasher heat drives severe warping, cracking, and glue-joint failure. USDA FSIS specifically warns that laminated boards may crack and split in the dishwasher. Those cracks then trap food and bacteria out of reach, which makes the board less safe than before.
Never dry the board flat while it is still damp. Towel-dry both faces, then stand it on edge or in a rack so air reaches both sides equally. Lying flat, one face dries much slower than the other, and that moisture imbalance cups the board while trapped moisture underneath invites mold.
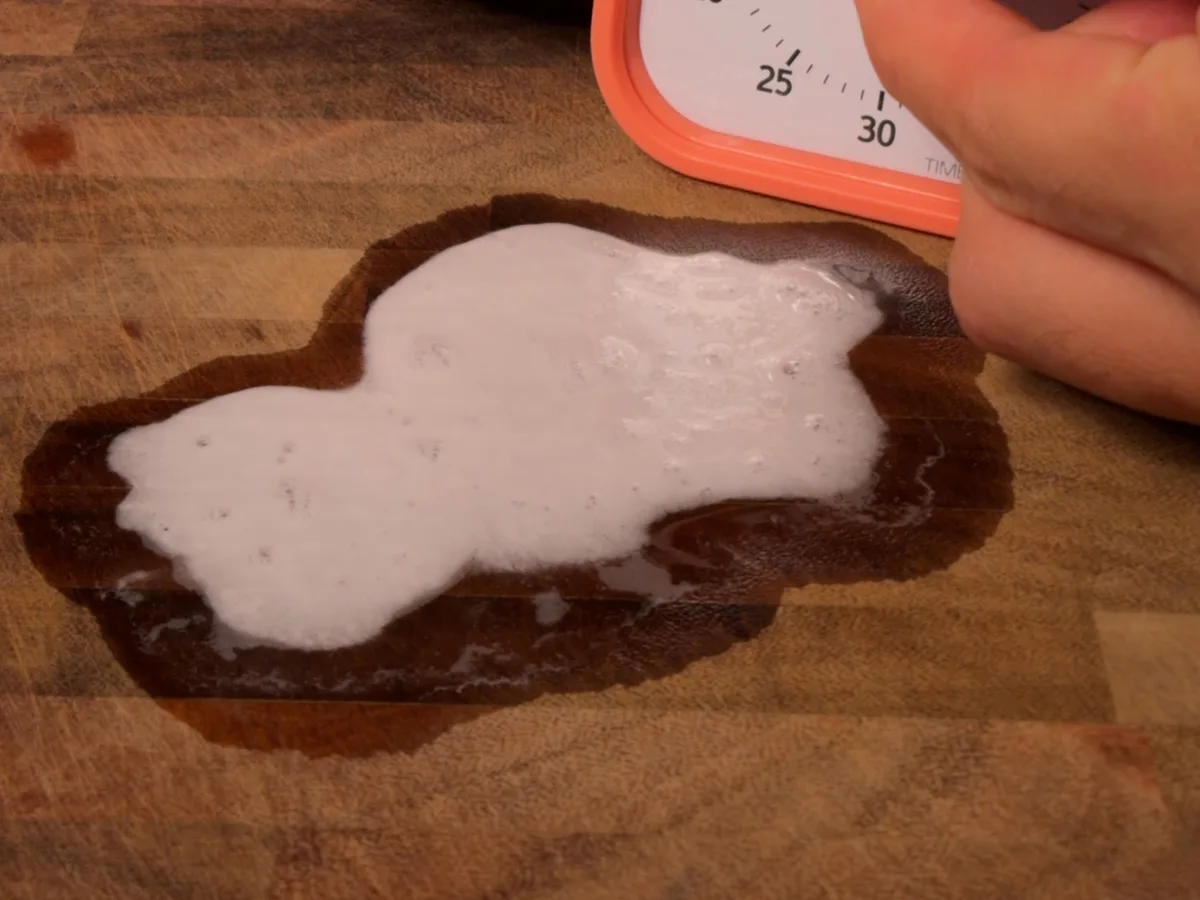
Timing a foaming reaction on the board during the demo.
Deep cleaning: grease, stains, and odors
Sticky, gummy, or rancid-smelling grease film. This almost always comes from having seasoned the board with cooking oil that oxidized and turned gummy. Match the method to how deep the grease sits. Fresh grease on the surface comes off with an ordinary hot-soapy-water wash, so do not overthink it. Grease that has soaked down into the grain needs a baking soda poultice to pull it back out, because soap cannot reach oil below the surface without soaking the board, which you must never do. Old, gummy, varnish-like grease needs light sanding. So for a stubborn film: scrub with hot soapy water and a stiff brush, then work in a baking soda paste (3 parts baking soda to 1 part water) and leave it sitting so it absorbs the oil, or lay a white-vinegar-dampened cloth over the area for 15 to 20 minutes, then scrub and rinse. If a gummy layer remains, lightly sand it off with 220-grit sandpaper with the grain (never across it). Dry completely, then recondition with several thin coats of food-grade mineral oil.
Deep-set pigment stains (turmeric, beets, berries, red wine, tomato). Soap will not touch a pigment stain, because a stain is not oily, so there is nothing for the surfactant to grab. Stains come out by abrasion (baking soda, salt) or by oxidation (hydrogen peroxide, lemon, sun).
Wash with hot soapy water first. Then lift the stain one of two ways: sprinkle coarse (kosher) salt on it and scrub with a cut lemon half for 60 to 90 seconds, let it sit 5 minutes, and rinse; or work in a baking soda paste (3 to 1), leave it 15 to 20 minutes, then scrub and rinse. Repeat up to three times for turmeric, which is the most stubborn. For anything still visible, flood the spot with 3% hydrogen peroxide, let it sit 5 to 10 minutes, rinse, and dry, then re-oil.
Peroxide works by oxidation: its reactive oxygen breaks the color molecules apart, so it destroys the stain rather than lifting it, which is why it beats wine, coffee, berry, turmeric, and beet. Two things to keep in mind: peroxide is not a degreaser (it cannot dissolve oil), and 3% peroxide will not dramatically lighten the wood itself, because the wood's own color sits in the lignin and only a professional two-part wood bleach touches that.
Some staining is cosmetic and inevitable, and it does not make the board unsafe. On dark, high-tannin woods like walnut and cherry, skip the peroxide for stains entirely. The stain barely shows on dark wood anyway, and bleaching risks leaving a visible light patch, so leave it or use baking soda. Whenever you do use peroxide, always spot-test first, and re-oil afterward, since mineral oil re-tones the wood and blends any slight lightening. Never mix peroxide with bleach.
Lingering odors (garlic, onion, fish, general funk). Sprinkle generously with coarse salt and scrub with a cut lemon half for 60 to 90 seconds, let it sit about 5 minutes, scrape, rinse, and dry. For onion or garlic, scrub with a 3-to-1 baking soda paste, which absorbs those sulfur smells, and rinse. For a fishy smell, wipe with a 1-to-1 white vinegar and water solution, let it sit 5 to 10 minutes, then rinse. The smell itself is not a hazard, but it signals trapped moisture, so make sure the board dries completely standing upright. Setting a damp board briefly in the sun can help lift residual pigment or odor, but treat that as a cosmetic aid only, not sanitizing, and keep it short. Prolonged sun and heat dry the wood unevenly and cause cracking.
The one paste that does most of it. If you want a single deep-clean mix for grease, stains, and general funk at once, combine 2 parts baking soda to 1 part 3% hydrogen peroxide, plus a drop of dish soap for grease. That ratio makes an actual spreadable paste rather than a runny liquid. Spread it on, wait 10 to 20 minutes, scrub, and rinse. The baking soda's alkalinity actually boosts the peroxide, since peroxide bleaches stains better in an alkaline environment, and unlike anything involving bleach this combination is safe to mix. Two rules: mix it fresh and do not store it sealed, because the peroxide slowly breaks down and releases oxygen gas that can pressurize a closed jar, and spot-test first since it is a mild bleach. Rinse and re-oil after. This is a problem-solving paste for a board that needs help, not an everyday cleaner, and it is not the sanitizer to rely on after raw meat. For that, use a straight peroxide flood, described next.
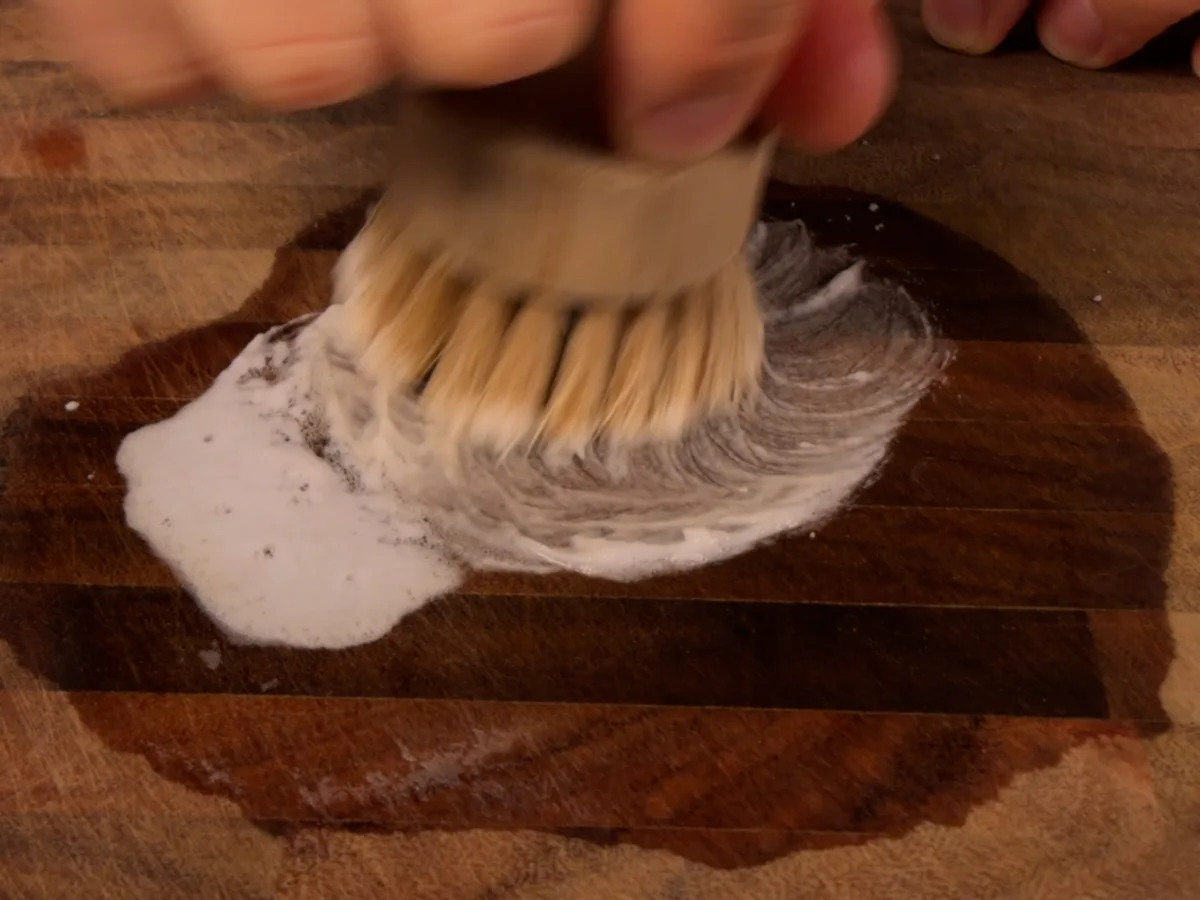
Scrubbing the board clean with a brush.
Sanitizing and raw meat
This is the highest-stakes section. Cleaning removes visible soil. Sanitizing kills the pathogens (Salmonella, E. coli, Campylobacter) that can survive a wash. Both steps matter, and the order matters.
Always clean before you sanitize. Two steps, always in this order. First, wash with hot soapy water and a brush, then rinse. Then apply the sanitizer and give it its full contact time. Scrape heavy residue off with a bench scraper first. Fat and protein (chicken fat is the classic example from Cliver's UC Davis work) chemically inactivate chlorine and physically shield bacteria, so sanitizer on a dirty board is unreliable.
How to sanitize after raw meat, poultry, or fish. Wash with hot soapy water first, then sanitize. For a wooden board, reach for hydrogen peroxide first.
3% hydrogen peroxide (the best pick for wood). Flood the whole surface (top, bottom, and sides), let it sit 5 to 10 minutes, rinse with clean water, dry on edge, then re-oil. It is effective, it breaks down into nothing but water and oxygen so it leaves no residue, and it does not strip the board's conditioning oils.
Chlorine bleach (the USDA FSIS method). Mix 1 Tablespoon of unscented, liquid chlorine bleach per 1 gallon of water (about 1 teaspoon per quart). Flood the surface, let it stand several minutes, then rinse with clean water and air-dry on edge or pat dry with clean paper towels.
Both sanitize. The reason peroxide is the better choice for wood, and bleach the better choice for plastic, comes down to chemistry. Household bleach is a strong base (pH 11 to 13, and it contains some sodium hydroxide, which is lye). A strong base saponifies oils, so bleach strips the board's conditioning oils right along with any grease (it is the same reaction that leaves your hands feeling slippery and dried out).
On top of that it is a chlorine oxidizer, so it brings fumes, residue you have to rinse, and the gas hazard if it ever meets another cleaner. That is two kinds of harshness. Hydrogen peroxide is near-neutral and chlorine-free, so it has neither problem. Bleach is still the official USDA FSIS standard and it is faster and cheaper, and on a plastic board, which is nonporous and has no oils to strip, bleach is the sensible pick. On wood, peroxide wins.
If you do use bleach, get the dilution right: 1 gallon is 4 quarts, so 1 Tablespoon per gallon comes out to about 1 teaspoon per quart. Do not double it. Over-concentrated bleach leaves residue you have to rinse and, over repeated use, strips the wood's oils and weakens the fibers. Whichever method you use, sanitize right after raw-protein prep, and at least weekly for general use.
Use the right bleach, at the right strength. Use only plain, unscented, liquid chlorine bleach. Splash-less, scented, and "cleaning" bleaches contain thickeners and fragrances and are not formulated for food-contact sanitizing, so the board looks treated but is not. Check the label: "regular" bleach is about 5.25 to 6% sodium hypochlorite, while "concentrated" is about 7.5 to 8.25%. If yours is concentrated 8.25%, use about two-thirds as much (roughly 2 teaspoons per gallon) to hit the same target. Mix it fresh each time, because diluted chlorine loses strength within about 24 hours. And never soak: flood, wait a few minutes, rinse.
The one dangerous mistake: never mix bleach with other cleaners. Do not combine bleach with vinegar or lemon to make it "stronger," and do not combine it with ammonia or with hydrogen peroxide. Use one sanitizer per session. If you switch methods, rinse the board thoroughly with plain water in between so no acid or peroxide remains. Here is why it is serious:
Bleach plus acid (vinegar or lemon) releases chlorine gas.
Bleach plus ammonia releases chloramine gas.
Bleach plus hydrogen peroxide is a different hazard: a violent, spattering reaction that throws caustic liquid.
Chlorine and chloramine gas cause coughing, burning eyes and throat, chest tightness, and at high concentrations severe lung damage. The CDC advises never mixing household bleach with any other cleaner or disinfectant. Keep one labeled bottle for the bleach solution, store bleach and vinegar and ammonia separately, and ventilate while you sanitize. If you ever smell a sharp chlorine odor or see fumes, leave the room for fresh air and call Poison Control at 1-800-222-1222.
Vinegar and baking soda are not sanitizers. White vinegar has a mild antibacterial effect and baking soda cleans and freshens, but neither is an EPA-registered sanitizer, and neither reliably kills the pathogens raw meat leaves behind. They are for cleaning and odor, not for sanitizing. After raw meat, use 3% hydrogen peroxide or the bleach solution. Match the method to the risk: raw meat means peroxide or bleach; a produce-only board is fine with soap and an occasional vinegar wipe. Never run a vinegar step and a bleach step back-to-back without a full water rinse in between.
Use separate boards for raw meat and ready-to-eat foods. Keep at least two boards, one dedicated to raw meat, poultry, and seafood, and a separate one for produce, bread, and ready-to-eat foods. Color-code them so it is foolproof. If you truly must use one board, cut the ready-to-eat items first and raw meat last, then fully wash and sanitize before any further use. Bacteria from raw proteins transfer straight onto foods that get no further cooking, which is the leading cause of home foodborne illness, and wood's slow die-off does not happen fast enough to protect the meal you are cooking. Wood itself is perfectly acceptable for raw meat per the USDA FSIS Meat and Poultry Hotline. The risk is the shared board, not the material.
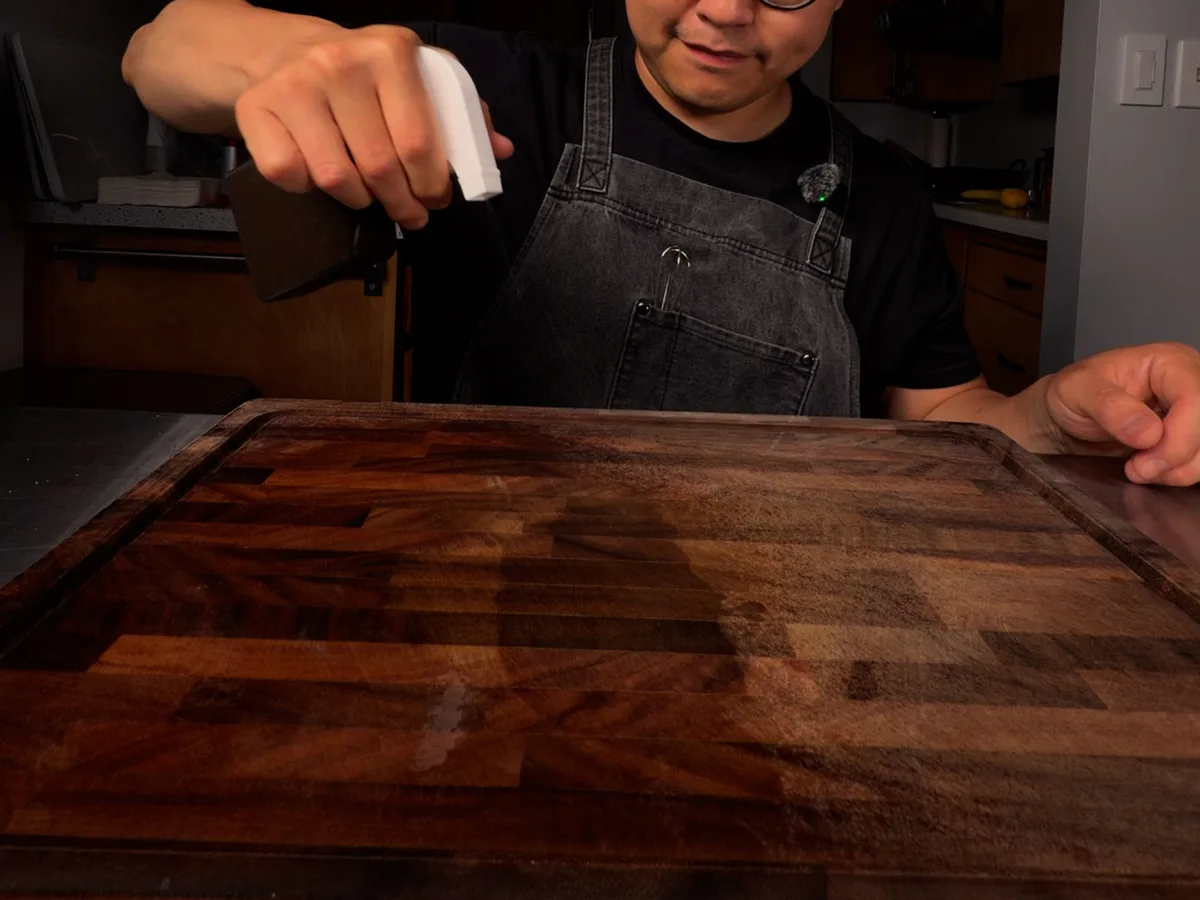
Working a liquid across the surface of the board.
Damage and repair
Warping and cupping (the board rocks and will not sit flat). This usually comes from one-sided wetting, being left flat on a wet counter, soaking, or the dishwasher. The concave (hollow) face is the drier, shrunken side. To fix it, rebalance the moisture, do not force it.
The gentle, permanent method: set the board with the convex (bulging, wetter) side facing up, resting on its four corners with the middle raised off the counter, and let it air-dry evenly over a few days. The faster method: lightly dampen the concave (dry) face, lay that face down on a wet towel with a flat weight on top so the dry side reabsorbs moisture and expands back flat, then let it dry evenly and re-oil.
For a severe warp (roughly 5 mm or more of rock), or one that keeps re-warping, have a woodworker plane it flat or replace it. A board that rocks while you cut is a real injury hazard, because the knife can slip. Avoid hard ironing, steaming, or soaking under weights; those flatten it briefly, then it re-warps.
Cracking and splitting. Fine surface checks, a deeper single crack, or separation at a glue joint usually come from letting the board dry out, direct heat or sun, or moisture whiplash (soaking then fast drying). Match the fix to the severity.
Shallow hairline checks: sand lightly, then work in a generous coat of food-grade mineral oil or a mineral-oil-plus-beeswax cream, and many fine checks close back up. A deeper single crack: clean the board, let it dry fully (on edge, 24 to 48 hours), inject a food-safe wood glue such as Titebond III into the crack with a small syringe so gravity carries it deep, clamp if you can, cure about 24 hours, sand flush, and re-oil.
A through-split, or a joint that keeps reopening, is structural failure: retire the board or have it professionally re-glued. Cracks and open joints trap food and moisture where a sponge cannot reach, which becomes a bacteria and mold harbor on a food surface.
Mold, mildew, or black or gray spots. This is the most safety-critical repair, so first tell mold from stain. True mold or mildew looks fuzzy, raised, or is spreading (green, gray, or black). A flat blue-black or gray stain is often a harmless tannin reaction between wet wood and iron (a knife, a wet can, hard water), and that is cosmetic, not fungal.
For real mold caught early as light surface spots: scrub firmly along the grain with undiluted 5% white vinegar or 3% hydrogen peroxide (both food-safe once rinsed), let it sit a few minutes, rinse, dry thoroughly, and re-oil. If spots persist, sand them out starting at 80 grit until the stained wood is gone, then work up through 120 and 220 grit, and re-oil.
Do not rely on bleach on wood for mold: it adds the water mold feeds on and does not reliably reach the roots, and you must never mix it with vinegar.
The practical rule: a small spot caught early that scrubs or sands away completely and does not return, on an otherwise sound board, is fine to keep using. But fuzzy mold that has penetrated the wood, mold living inside cracks you cannot reach, or mold that keeps coming back means throw the board out. Households with immunocompromised members should replace at the first sign.
Deep knife gouges and heavy scoring. The problem is not looks, it is that deep grooves trap food and moisture where washing cannot flush them. Resurface by sanding: start at about 80 grit to cut through the gouges, keeping the sander moving over the whole face so you do not dish it out, then progress through 120, 150, and 220 grit. Wipe with a damp cloth to raise the grain, let it dry, do a final light 220-grit hand sanding, then generously re-oil.
A solid wood board can be resurfaced many times over its life. But USDA guidance is that boards which develop hard-to-clean grooves should be discarded, so if the gouges are too deep to sand out, or the board has been sanded so thin it cannot be resurfaced safely, retire it.
Full refinishing of a neglected, gray, or heavily stained board. Sand with the grain: start around 80 grit, step up to 100 to 120, then finish at 220. Wipe off all dust with a damp cloth, let it dry, then re-oil generously with food-grade mineral oil in multiple thin coats, letting it soak in a few hours and repeating until the wood stops drinking it in. Sanding strips the oil finish, so you must re-oil before using the board with food again. Wear a dust mask, sand only with the grain, and retire any board with deep cracks or splits that will not sand out.
When to retire the board. The single test is: can this surface still be brought back to a state where it cleans completely? If yes, repair it and keep it. If no, throw it out. Retire the board when any of these is true:
Deep grooves, cracks, or splits that trap food and cannot be sanded or glued back to a smooth, sound surface.
Mold that has penetrated the wood, lives in cracks, or keeps returning after cleaning.
A board split through, or repeatedly failing at its glue joints.
A board sanded so many times it is too thin to resurface.
A deep, sour, or off odor that will not wash out.
A warp so severe it rocks and cannot be flattened.
When in doubt on a board used for raw meat or poultry, replace sooner rather than later. This ability to repair and resurface is wood's real advantage over plastic: knife-scarred plastic holds bacteria in its grooves even after washing, while scarred wood keeps drawing bacteria in to die off.
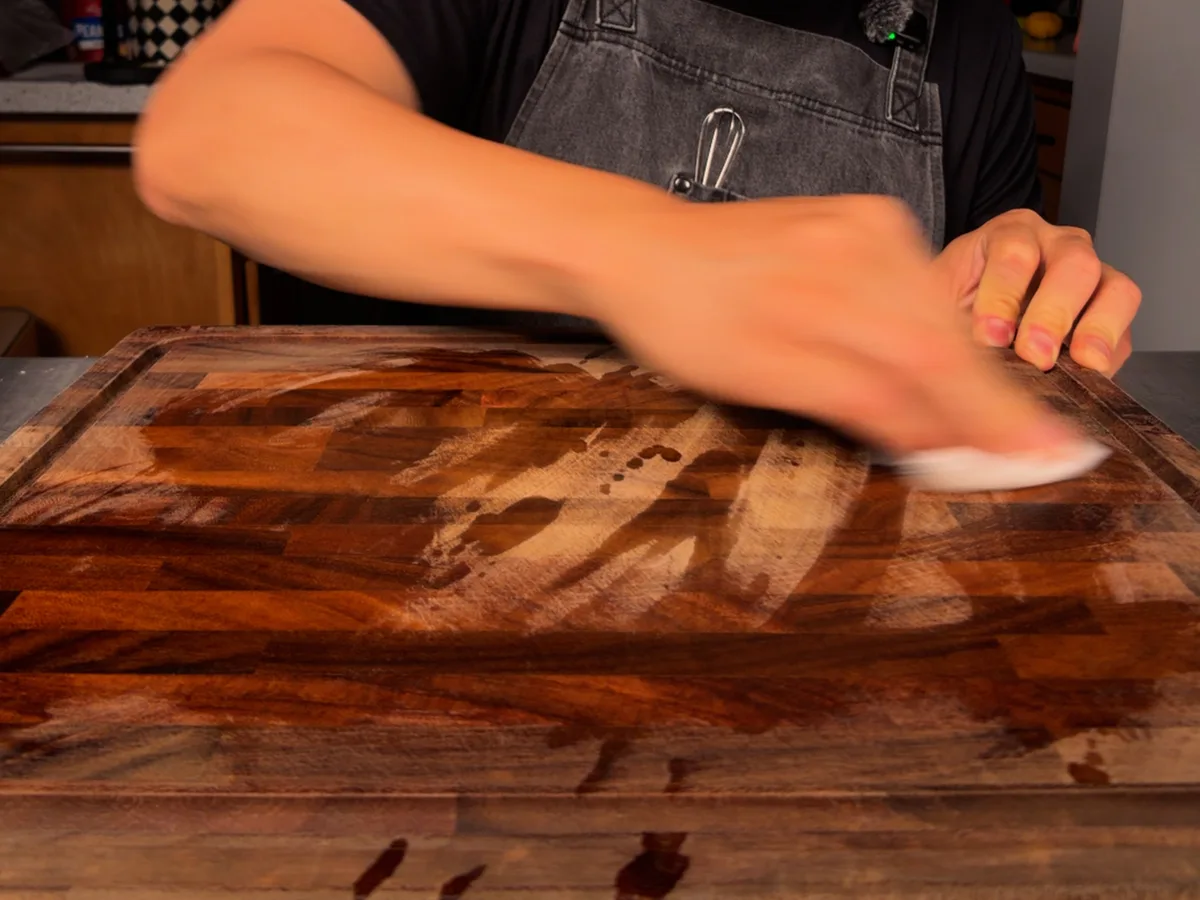
Rubbing the board down by hand.
Conditioning and oiling
Oil only with food-grade mineral oil (or a mineral-oil-plus-wax cream). Use food-grade (USP) mineral oil, also sold as white mineral oil or liquid paraffin, or a board cream of mineral oil plus beeswax or carnauba wax. Skip olive, vegetable, canola, corn, sunflower, grapeseed, coconut, walnut, and "boiled" linseed oil. Cooking, nut, and seed oils are unsaturated, so they oxidize and go rancid inside the wood where you cannot wash them out. Mineral oil is saturated and never goes rancid.
Two safety traps to repeat: "boiled" linseed oil contains toxic metallic driers, avoid it entirely; and many "tung oil finish" products are varnish and solvent blends, so use only 100% pure tung oil, fully cured. Buy mineral oil labeled food-grade or USP, because hardware-store grades can contain non-food additives. (The one exception is fractionated, MCT, coconut oil, which is shelf-stable and food-safe; ordinary coconut oil is not.)
Know when the board needs oil (the water-drop test). Sprinkle a few drops of water on the surface. If they bead, the board is fine. If they soak in and the spot darkens within a minute, re-oil. Wash and dry fully, apply a generous coat of food-grade mineral oil, let it soak in several hours or overnight, then wipe off the excess. Once the oil wears away from washing and knife abrasion, bare wood absorbs juices, which leads to staining, odor, raised grain, and eventually cracking. A sealed board is easier to clean and less hospitable to bacteria, so oiling is a food-safety measure, not just cosmetic.
Oiling schedule. Let the look and the water test override any calendar, but as a baseline: moderate use about monthly, heavy use every 2 to 3 weeks, light use every 2 to 3 months, and end-grain boards more often (every 2 to 4 weeks) because the exposed fiber ends drink oil and water faster. A common rhythm is once a week for the first month, once a month for the first year, then once or twice a year after.
A few oiling habits that matter. Season a new board before first use, because it leaves the factory dry and thirsty: wipe a generous coat on all surfaces, let it soak several hours or overnight, wipe the excess, and repeat 2 to 4 times over a few days until the wood stops absorbing. Always oil a dry board, never a damp one, because moisture in the pores blocks the oil and traps water inside. Apply, let it soak, then wipe off all the excess, so the board feels smooth and not wet (saturation protects the wood, not a greasy surface). And oil all six surfaces every time (top, bottom, both edges, both ends), because sealing one face while the other absorbs and releases moisture freely makes the board cup.
Oil and wax as a two-step system. Wax creams sit on the surface and add water repellency and shine but do not penetrate deeply, so on dry or new wood, wax alone leaves the interior unsaturated. Saturate first with mineral oil (soak, wipe excess), then apply a thin coat of beeswax or carnauba cream in a circular motion, let it sit about 20 minutes, and buff.
If you make your own conditioner, use roughly 4 parts food-grade mineral oil to 1 part beeswax by weight, melted gently in a double boiler (never a pan directly on the burner, because beeswax is flammable and scorches over direct heat). Do not let a board dry out completely, because bare, dried-out wood turns brittle and cracks along the grain and at glue joints. Keep it out of direct sun and away from the stove, oven vent, or radiator, and re-oil on schedule.
Storage
Store upright, with airflow, away from heat and sun. Stand the board on its edge (angled against a wall or in a vertical rack) in a spot with airflow and stable, moderate humidity. Keep it away from windows, ovens, dishwashers, and heating vents. Flat storage traps residual moisture underneath and repeats the uneven-drying warp cycle, which also invites mold, while direct sun and heat dry the surface too fast and cause checking and splitting. A permanent vertical home with consistent conditions keeps a board flat far better than swinging between damp and bone-dry.
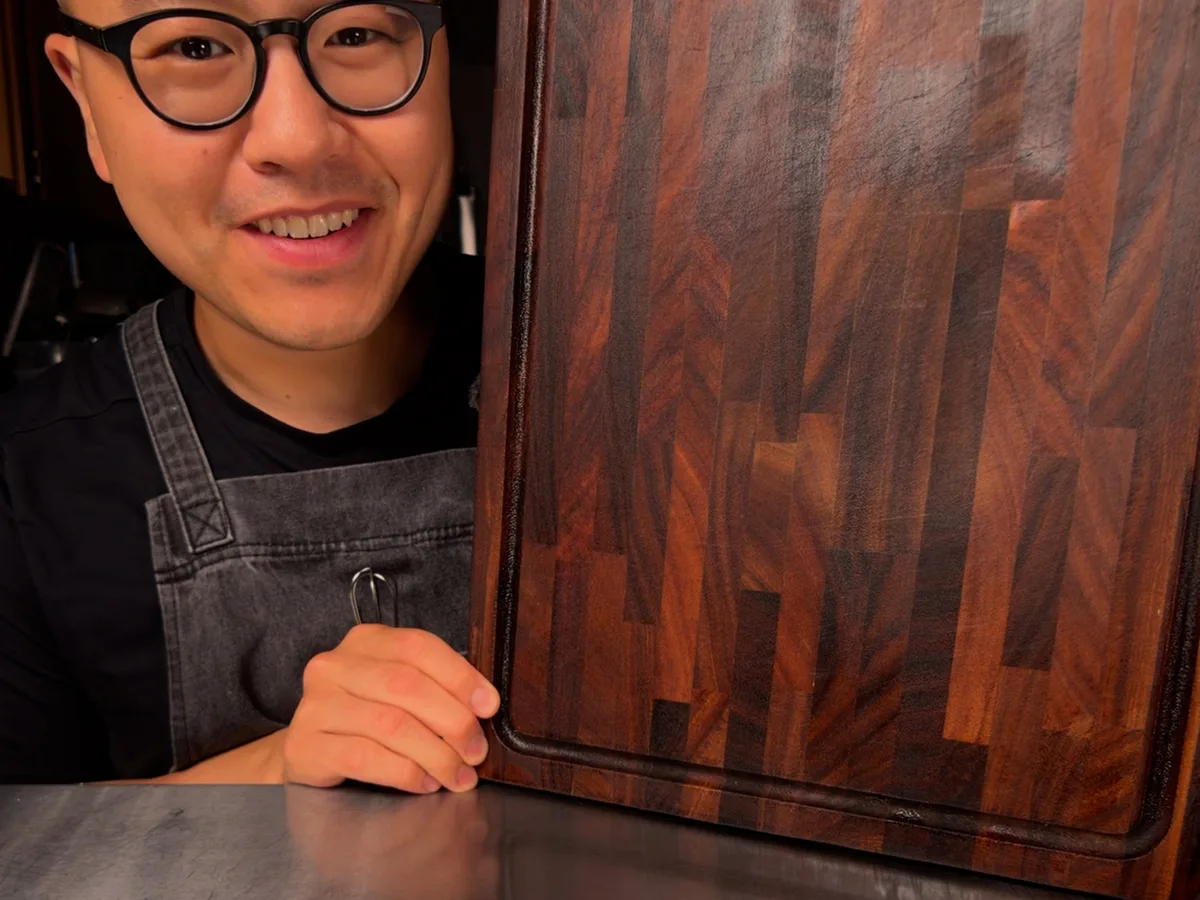
A finished, well-kept end-grain board.
Choosing a board
Pick a closed-grain hardwood. Choose a fine, tight-pored hardwood: hard (sugar) maple, walnut, cherry, or beech. Hard maple is the workhorse benchmark and the wood NSF certifies for commercial food-contact use. Walnut and cherry are slightly softer and gentler on knife edges, and beech is a near-maple European equivalent. Teak is the exception that also makes an excellent board, but for a different reason: it is not tight-grained at all, it is actually coarse and ring-porous, and it works because it is dense and full of natural oils that resist moisture. The trade-off is that its silica content dulls knives faster than the others.
To check the tight-grained woods, look at the end of the board: closed-grain woods like maple, walnut, cherry, and beech show pores too small to see or catch a fingernail in. If you can see clear open pores (red oak, ash, often mahogany or hickory), skip it for a cutting surface, because open pores wick up moisture and food and are slow to dry, which means more staining and more warping.
One accuracy note so you buy for the right reason: closed grain buys you moisture control, stain resistance, durability, and easier drying, not a uniquely higher germ kill. The UC Davis research across ten-plus hardwood species found they all behaved similarly, drawing bacteria below the surface to die off with no big species-to-species difference. Wood's antibacterial die-off is a property of hardwood generally, and it happens over hours to days, which is exactly why it is a backstop and not a substitute for washing.
Do not let tannins scare you off walnut or cherry. Tannins are the natural compounds that make some woods dark, the same family found in tea, wine, berries, and nuts. They are safe at these levels, you cannot fully leach them out anyway, and far from being a problem they are part of the polyphenol chemistry that helps wood kill bacteria in the first place. So high-tannin hardwoods like walnut and cherry make excellent, food-safe boards.
The wood to actually avoid is open-grained, like red oak and ash, because the big open pores trap food and moisture and are hard to clean. That is the real disqualifier, not the tannins. (Oak's tannins only cause harmless dark iron-reaction stains, which are cosmetic.) The rule is avoid open grain, not avoid tannins.
You may also hear that walnut is toxic. That refers to walnut sawdust irritating woodworkers, to black-walnut shavings being toxic to horses (commonly blamed on a compound called juglone, though the exact cause is not settled), and to juglone stunting some nearby plants. None of that has anything to do with eating off a finished, food-safe walnut board, which is perfectly safe.
Avoid softwoods, and exotic or unidentified species. Do not use pine, fir, cedar, or redwood as a cutting surface: they are too soft (knives gouge deep, food-trapping grooves fast), and several are resinous or aromatic, so their oils can taint food. Reserve cedar and pine for serving or display. Avoid exotic or unidentified species too, because some woods (rosewoods and certain tropicals) are irritant or allergenic in food contact, and truly toxic ornamentals like oleander are dangerous. A reliable rule: prefer species whose tree already produces edible fruit, nuts, leaves, or sap (maple, cherry, walnut), and avoid anything you cannot positively identify as food-safe. Buy from makers who name the species and confirm the finish and glue are food-safe.
Match the grain orientation to the job. Face grain (wide, flat cathedral grain) is beautiful but the weakest under a knife and scars fastest, so use it for serving, bread, cheese, and charcuterie, not heavy chopping. Edge grain (long parallel strips) is a strong, affordable all-rounder and the best default daily prep board. End grain (a checkerboard of fiber ends) is self-healing and gentlest on knife edges, but the exposed fiber ends drink water and oil faster, so it needs conditioning every 2 to 4 weeks and should never be left wet.
A note on bamboo. Bamboo is a grass, so a board is shredded strips glued into a laminate. Cheap versions can use urea or melamine-formaldehyde adhesives (the source of the formaldehyde concern); once cured, migration from a reputable board is very low, and the USDA and FDA recognize bamboo as food-safe, but glue quality varies. Buy boards that state a food-safe, formaldehyde-free or water-based adhesive, or that reference a low-emission standard, and avoid unbranded boards with no glue disclosure.
Expect bamboo and teak to dull knives faster than softer hardwoods (bamboo is hard and full of glue lines, teak contains silica), so if protecting a fine edge is the priority, favor an end-grain maple, walnut, or cherry board and keep bamboo and teak for rougher tasks.
One note on tree-nut allergies and walnut boards. Allergic reactions come from nut proteins, not the wood itself or highly refined oil, and allergists consider walnut-wood kitchen items very low risk. The genuine concern is raw or unrefined nut oils, which can retain trace protein. For a household with a diagnosed tree-nut allergy, the simplest safe choice is to condition boards with mineral oil and beeswax or carnauba (no nut oils at all), and follow the affected person's allergist's guidance for a severe allergy rather than general reassurance.
Lemon and salt was never the villain. It is just a stain remover wearing a sanitizer's costume. Soap for everyday grease and germs, 3% hydrogen peroxide to sanitize a raw-meat board, the baking soda and peroxide paste for grease and stains and funk, lemon for minerals and smells, mineral oil to seal it, and two boards so raw and ready-to-eat never meet. Do that and a good wood board outlives most of your kitchen.
Weekly articles
Enjoy the science? There's more every week.
New food science article every week. Sign up free to get notified, or go ad-free with membership.
Dawn Power Wash is a genuinely good formula. Read the ingredient list and you can see exactly why it works, and that you can build the same thing at home for about a quarter of the price. Here is the science, the recipe, and a side by side test.