Why Costco Rotisserie Chicken Is So Juicy (And How to Copy It at Home)
Costco injects every bird with sodium phosphate before it hits the rotisserie. Here is what that compound does to chicken muscle, and how to replicate it at home with baking soda and a dry rest.
Charles Kim·Chef Fatty
May 27, 2026
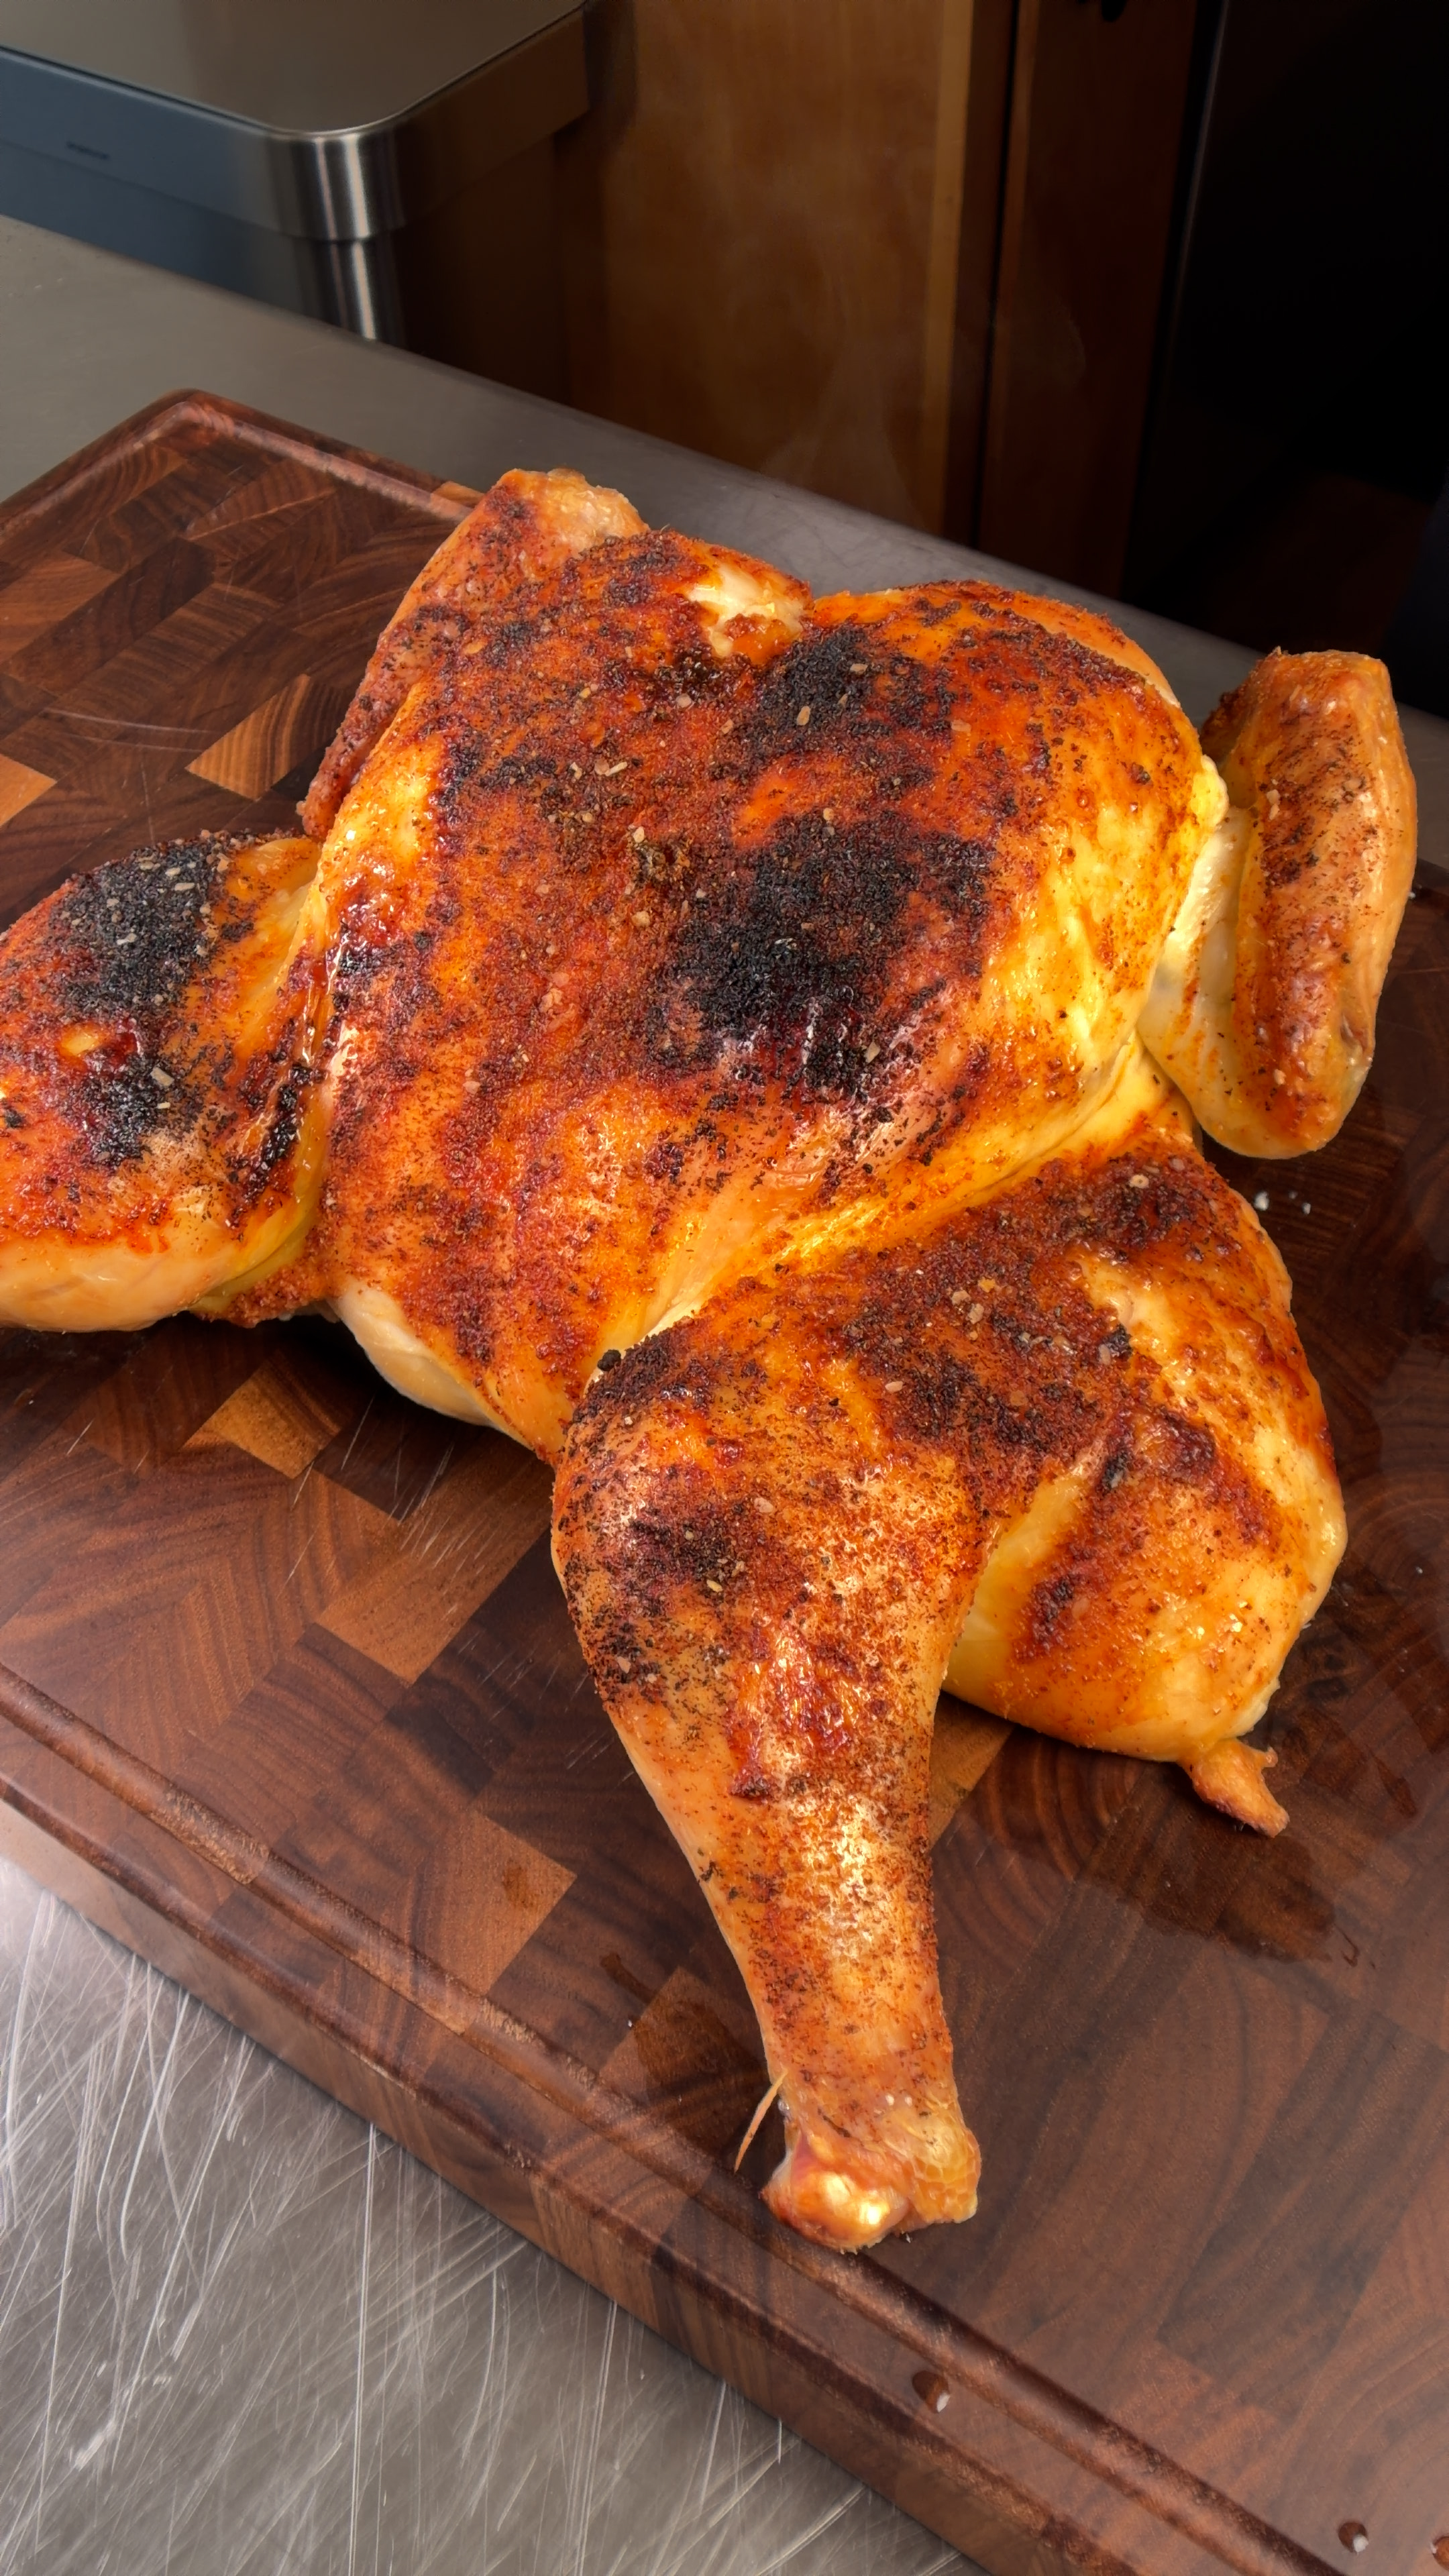
The finished result: spatchcocked, brined, and roasted at 425°F. The skin gets a crunch Costco's rotisserie never delivers.
Costco sells about 100 million rotisserie chickens every year. They price them at $4.99, below cost, because it pulls people to the back of the store. But the real reason people keep going back is that the chicken is genuinely better than what most people make at home. It stays juicy even after sitting in a warming case for hours.
That is not magic. It is chemistry. Specifically, it is sodium phosphate, and once you understand what it does, you can replicate the effect in your own kitchen. Follow along as you read.
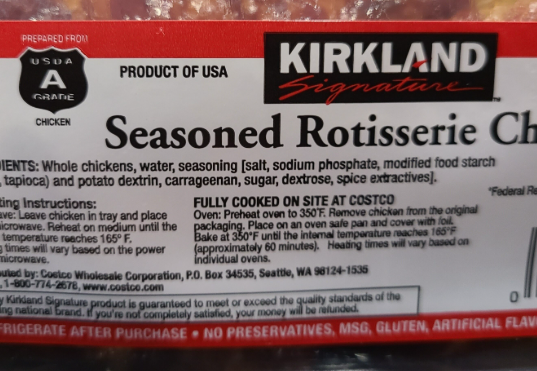
The Kirkland ingredient label. Sodium phosphate is right there in the list, no fine print required.
Check the ingredient label on a Costco rotisserie chicken and you will find sodium phosphate listed alongside salt and seasoning. Costco injects this solution directly into the meat before cooking. It is an approved food additive used across the commercial poultry industry for one specific reason: water retention.
Sodium phosphate is an alkaline salt. Raising the pH of the muscle tissue changes how the proteins behave under heat, and that single change is responsible for the texture difference you notice in every bite.
What sodium phosphate does to meat
Chicken breast is made of long protein fibers bundled together with water trapped between them. When heat hits those fibers, they denature: the protein chains unfold and contract, squeezing together like a wet cloth being wrung out. The water has nowhere to go except out of the meat and onto the pan.
Sodium phosphate interferes with this process at the molecular level. It increases the negative charge on the protein fibers, which causes them to repel each other rather than contract tightly. The proteins still cook and firm up, but they do not squeeze together with the same force. The water stays trapped inside the muscle rather than being expelled during cooking.
The result is a chicken breast that stays noticeably more moist, even after sitting in a warming case for two hours.
How baking powder replicates it at home
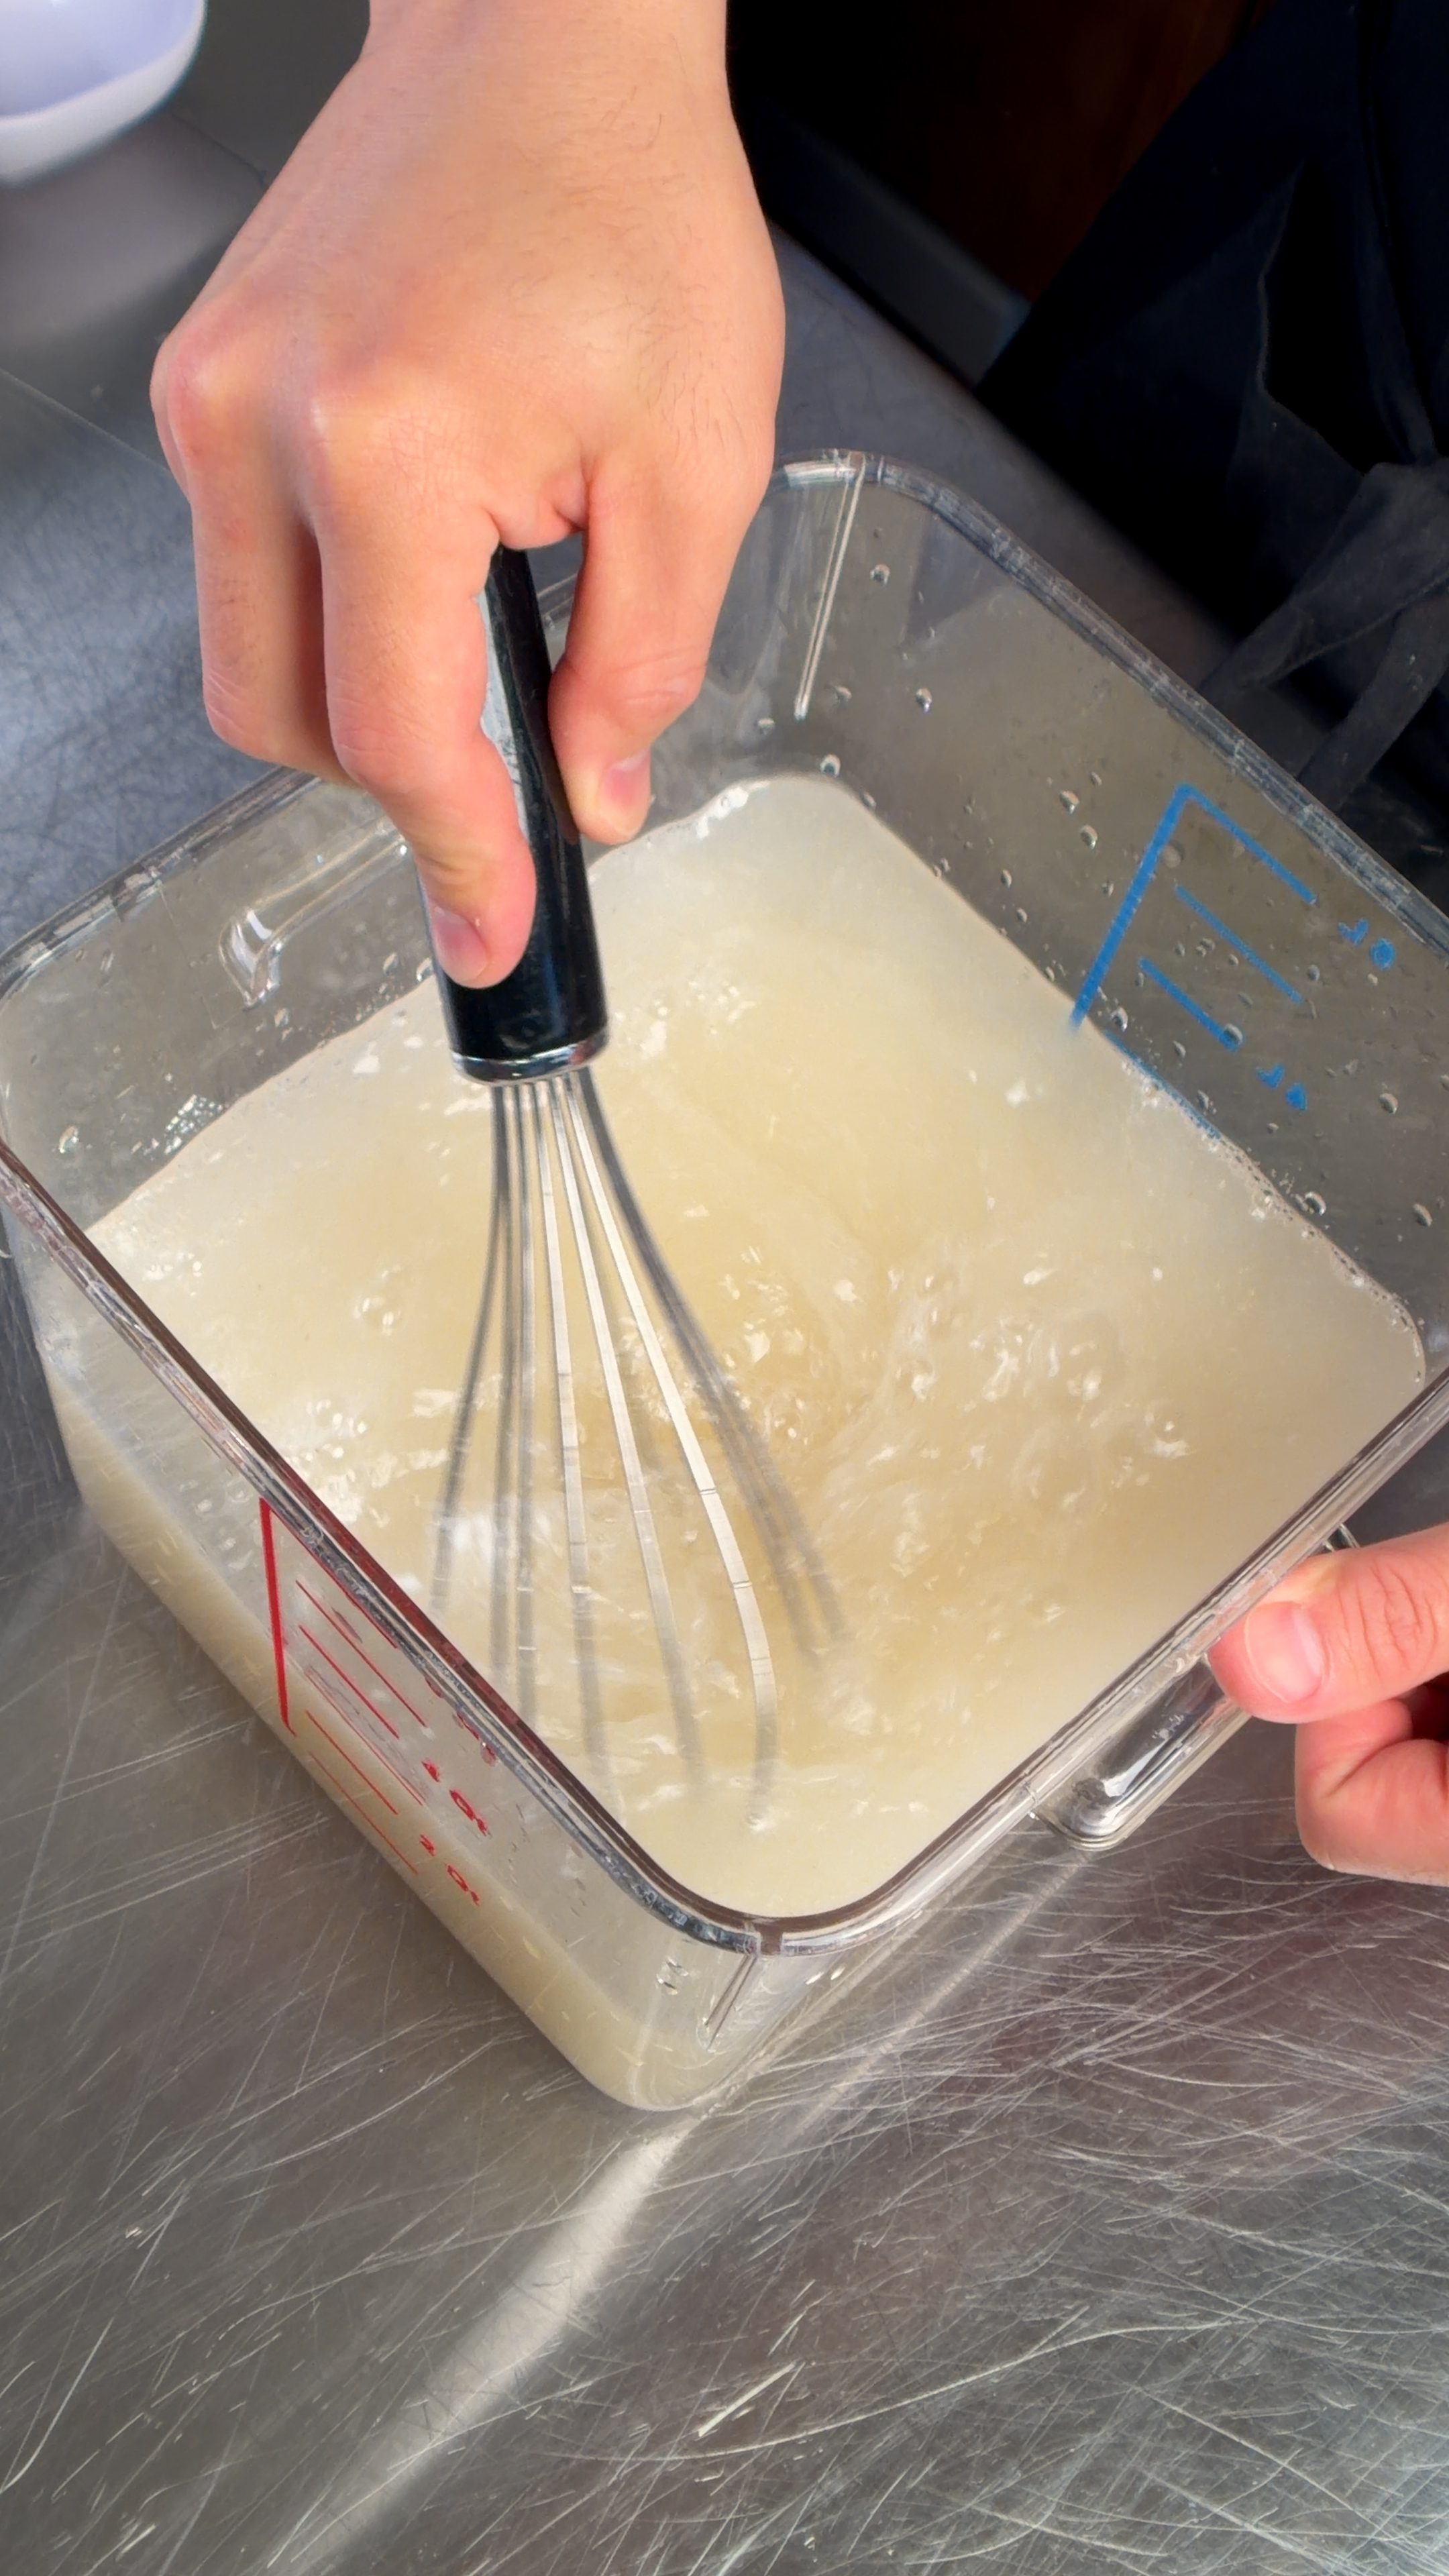
The wet brine: water, kosher salt, sugar, garlic powder, onion powder, and baking powder. The baking soda inside the baking powder is what raises the pH for moisture retention.
Baking powder is three things: baking soda (sodium bicarbonate), sodium acid pyrophosphate, and cornstarch. The active ingredient for moisture retention is the baking soda. Like sodium phosphate, it is alkaline. Dissolve it in brine, Jaccard the chicken, and submerge it overnight. The alkaline brine penetrates into the muscle and raises its pH. The fibers stay looser. The water stays in during cooking.
The reason to use baking powder instead of pure baking soda is flavor. When baking soda overheats, it converts to sodium carbonate, which has a soapy, metallic taste. The sodium acid pyrophosphate in baking powder is acidic. It partially neutralizes the baking soda, buffering the alkalinity so you can use enough to matter without affecting the flavor. Sodium phosphate does not have this problem at all, which is one reason it works so well at the concentrations Costco uses.
Sodium phosphate also has two mechanisms baking powder does not. It directly binds to myosin (the main muscle protein) and loosens it, and it chelates calcium and magnesium ions inside the muscle, breaking up protein crosslinks further. Baking powder only raises pH. To bridge that gap, this recipe uses a Jaccard needle tenderizer, a tool with rows of fine needles that pierce small channels into the meat before brining. Those channels let the alkaline brine penetrate deeper into the muscle, mimicking how Costco injects the solution directly. An overnight brine with the Jaccard gets you most of the moisture benefit. You are working one lever instead of three, but one lever done well still makes a noticeably juicier bird.
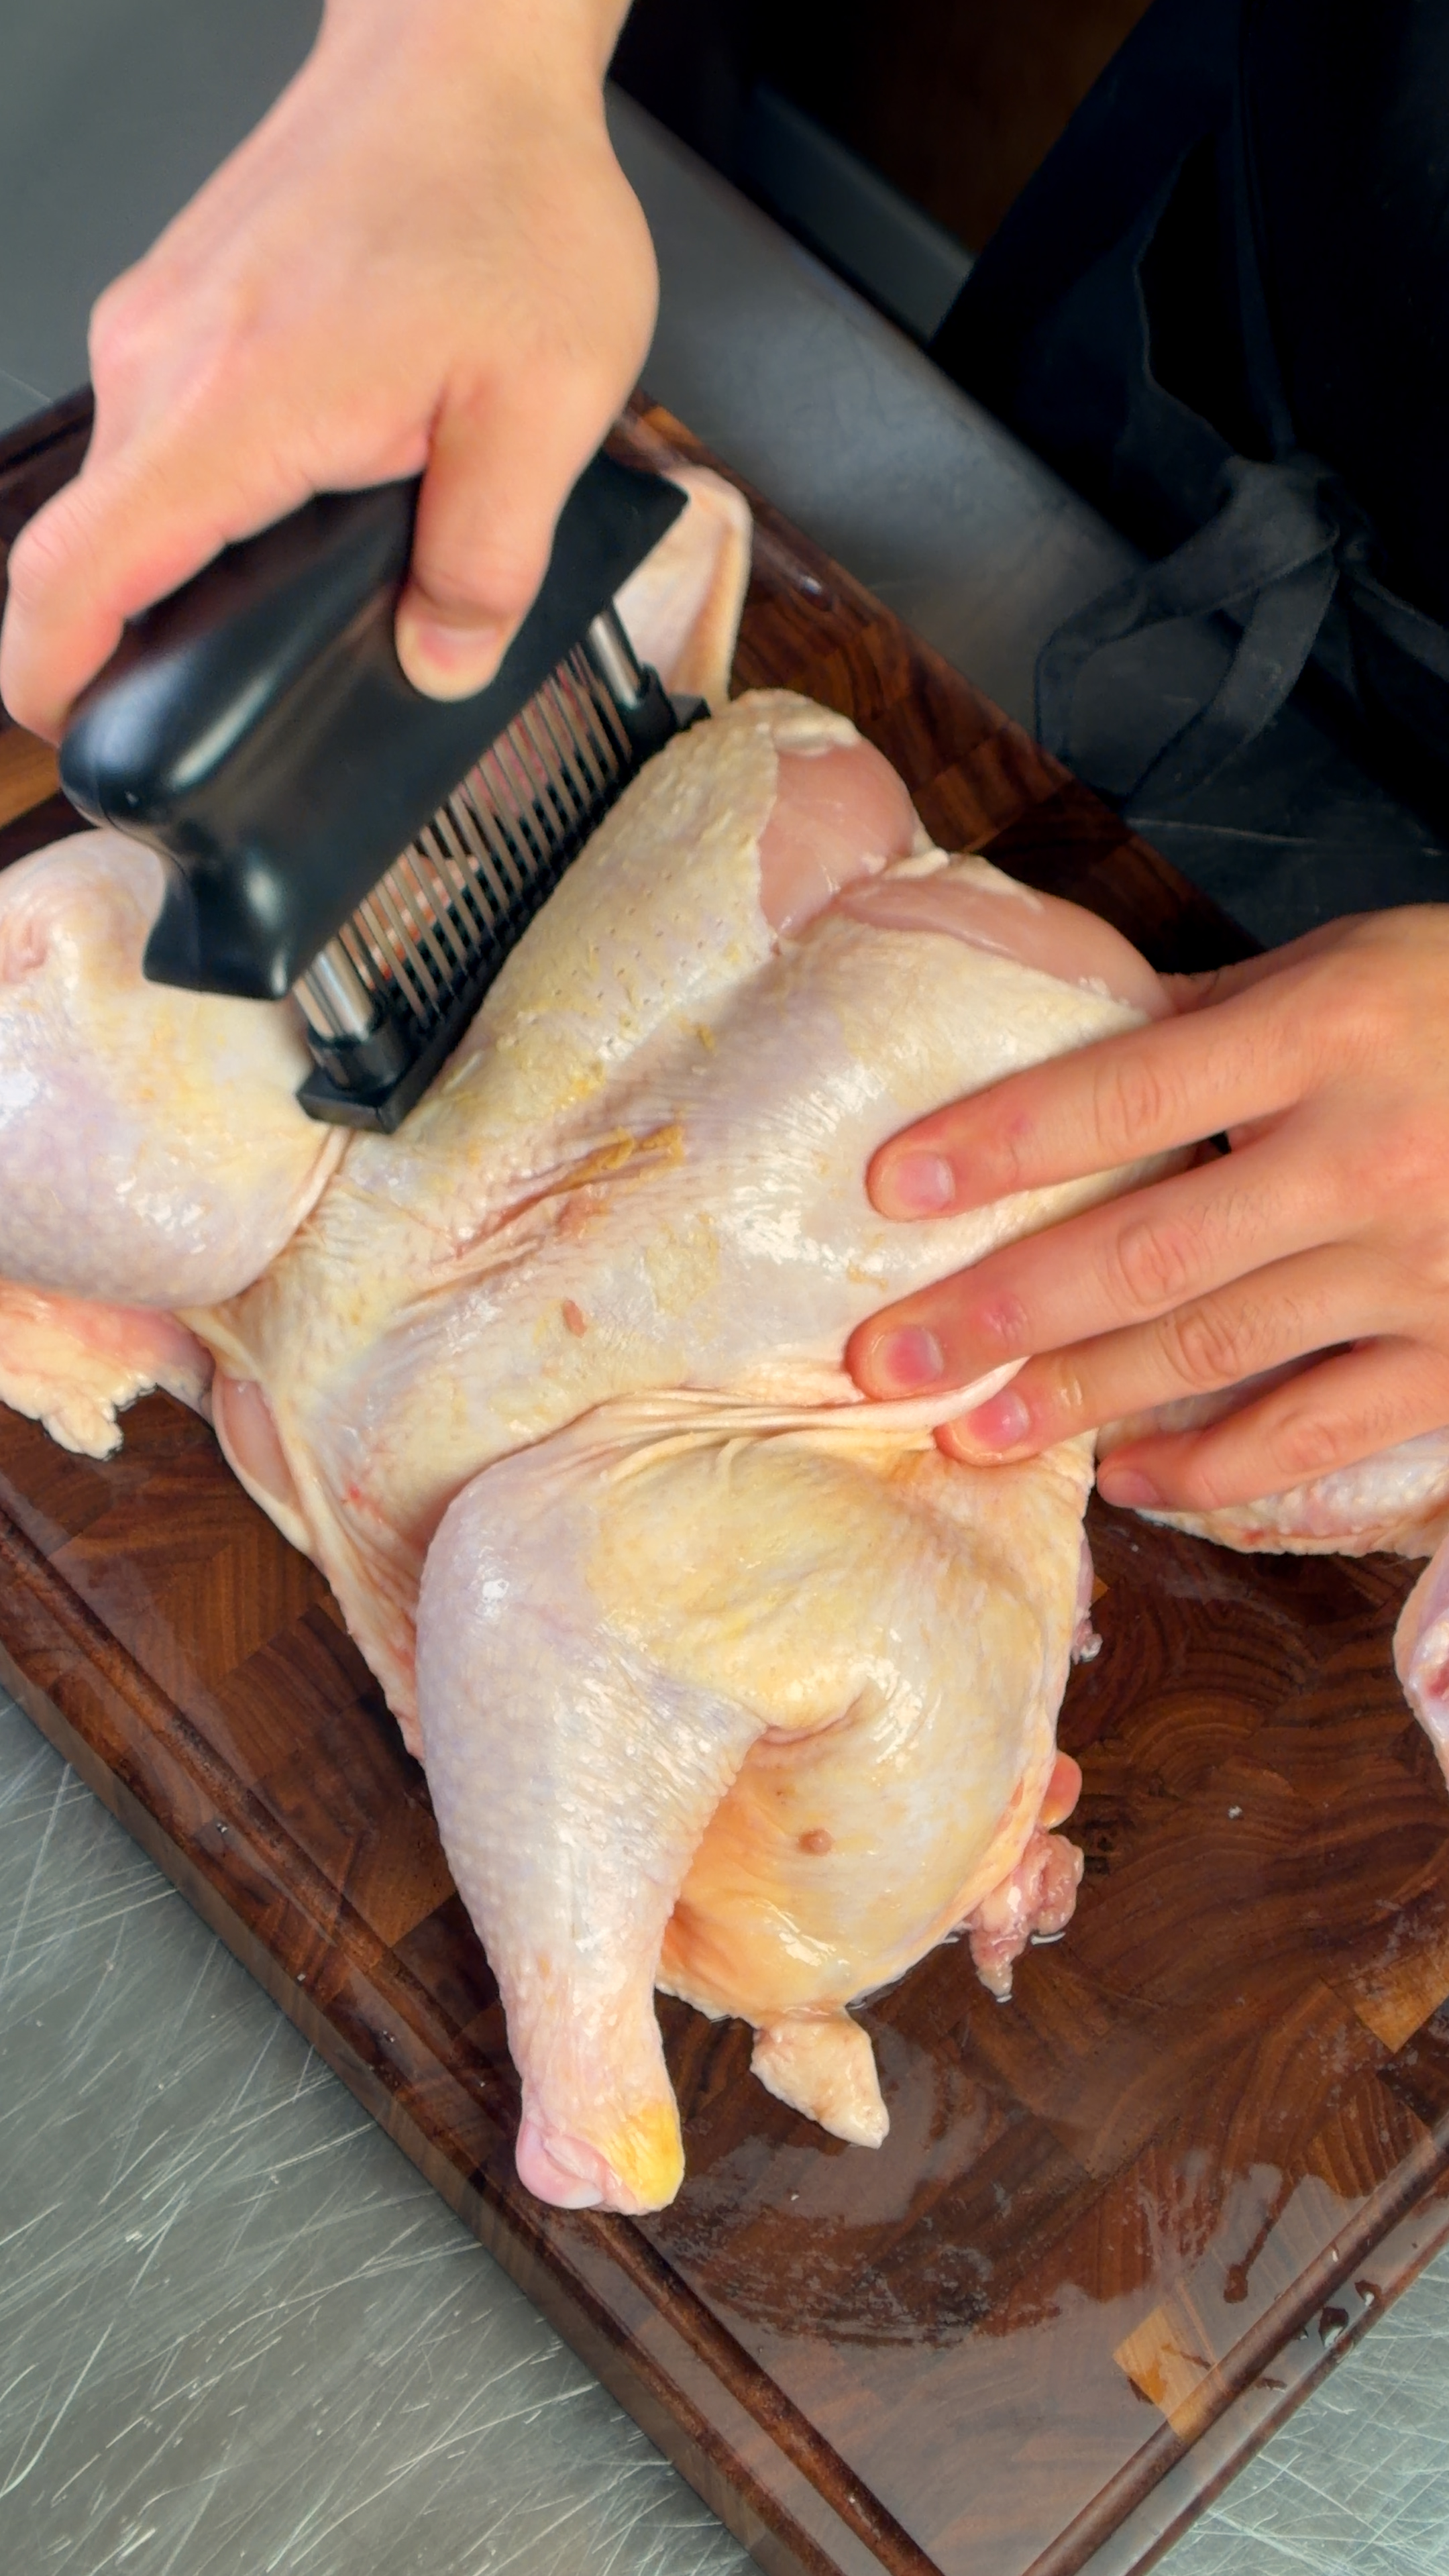
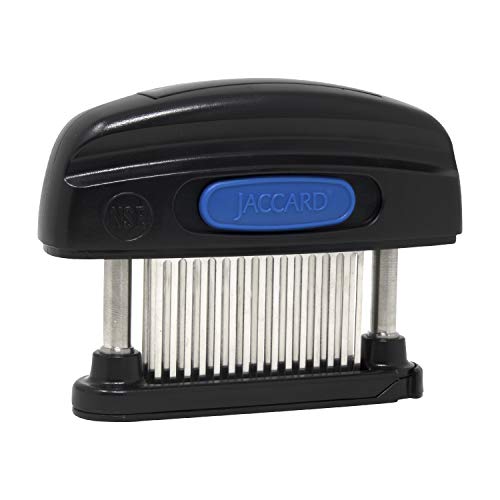
A Jaccard needle tenderizer pierces small channels into the meat before brining, letting the brine penetrate deeper and faster.
One technique that helps bridge the gap between home brining and commercial injection: a Jaccard needle tenderizer. Running it over the breast and thigh before brining creates small channels in the muscle tissue that let the brine reach deeper into the meat faster. You still need the full 12-hour brine, but the result has more even moisture distribution through the thickest parts of the bird.
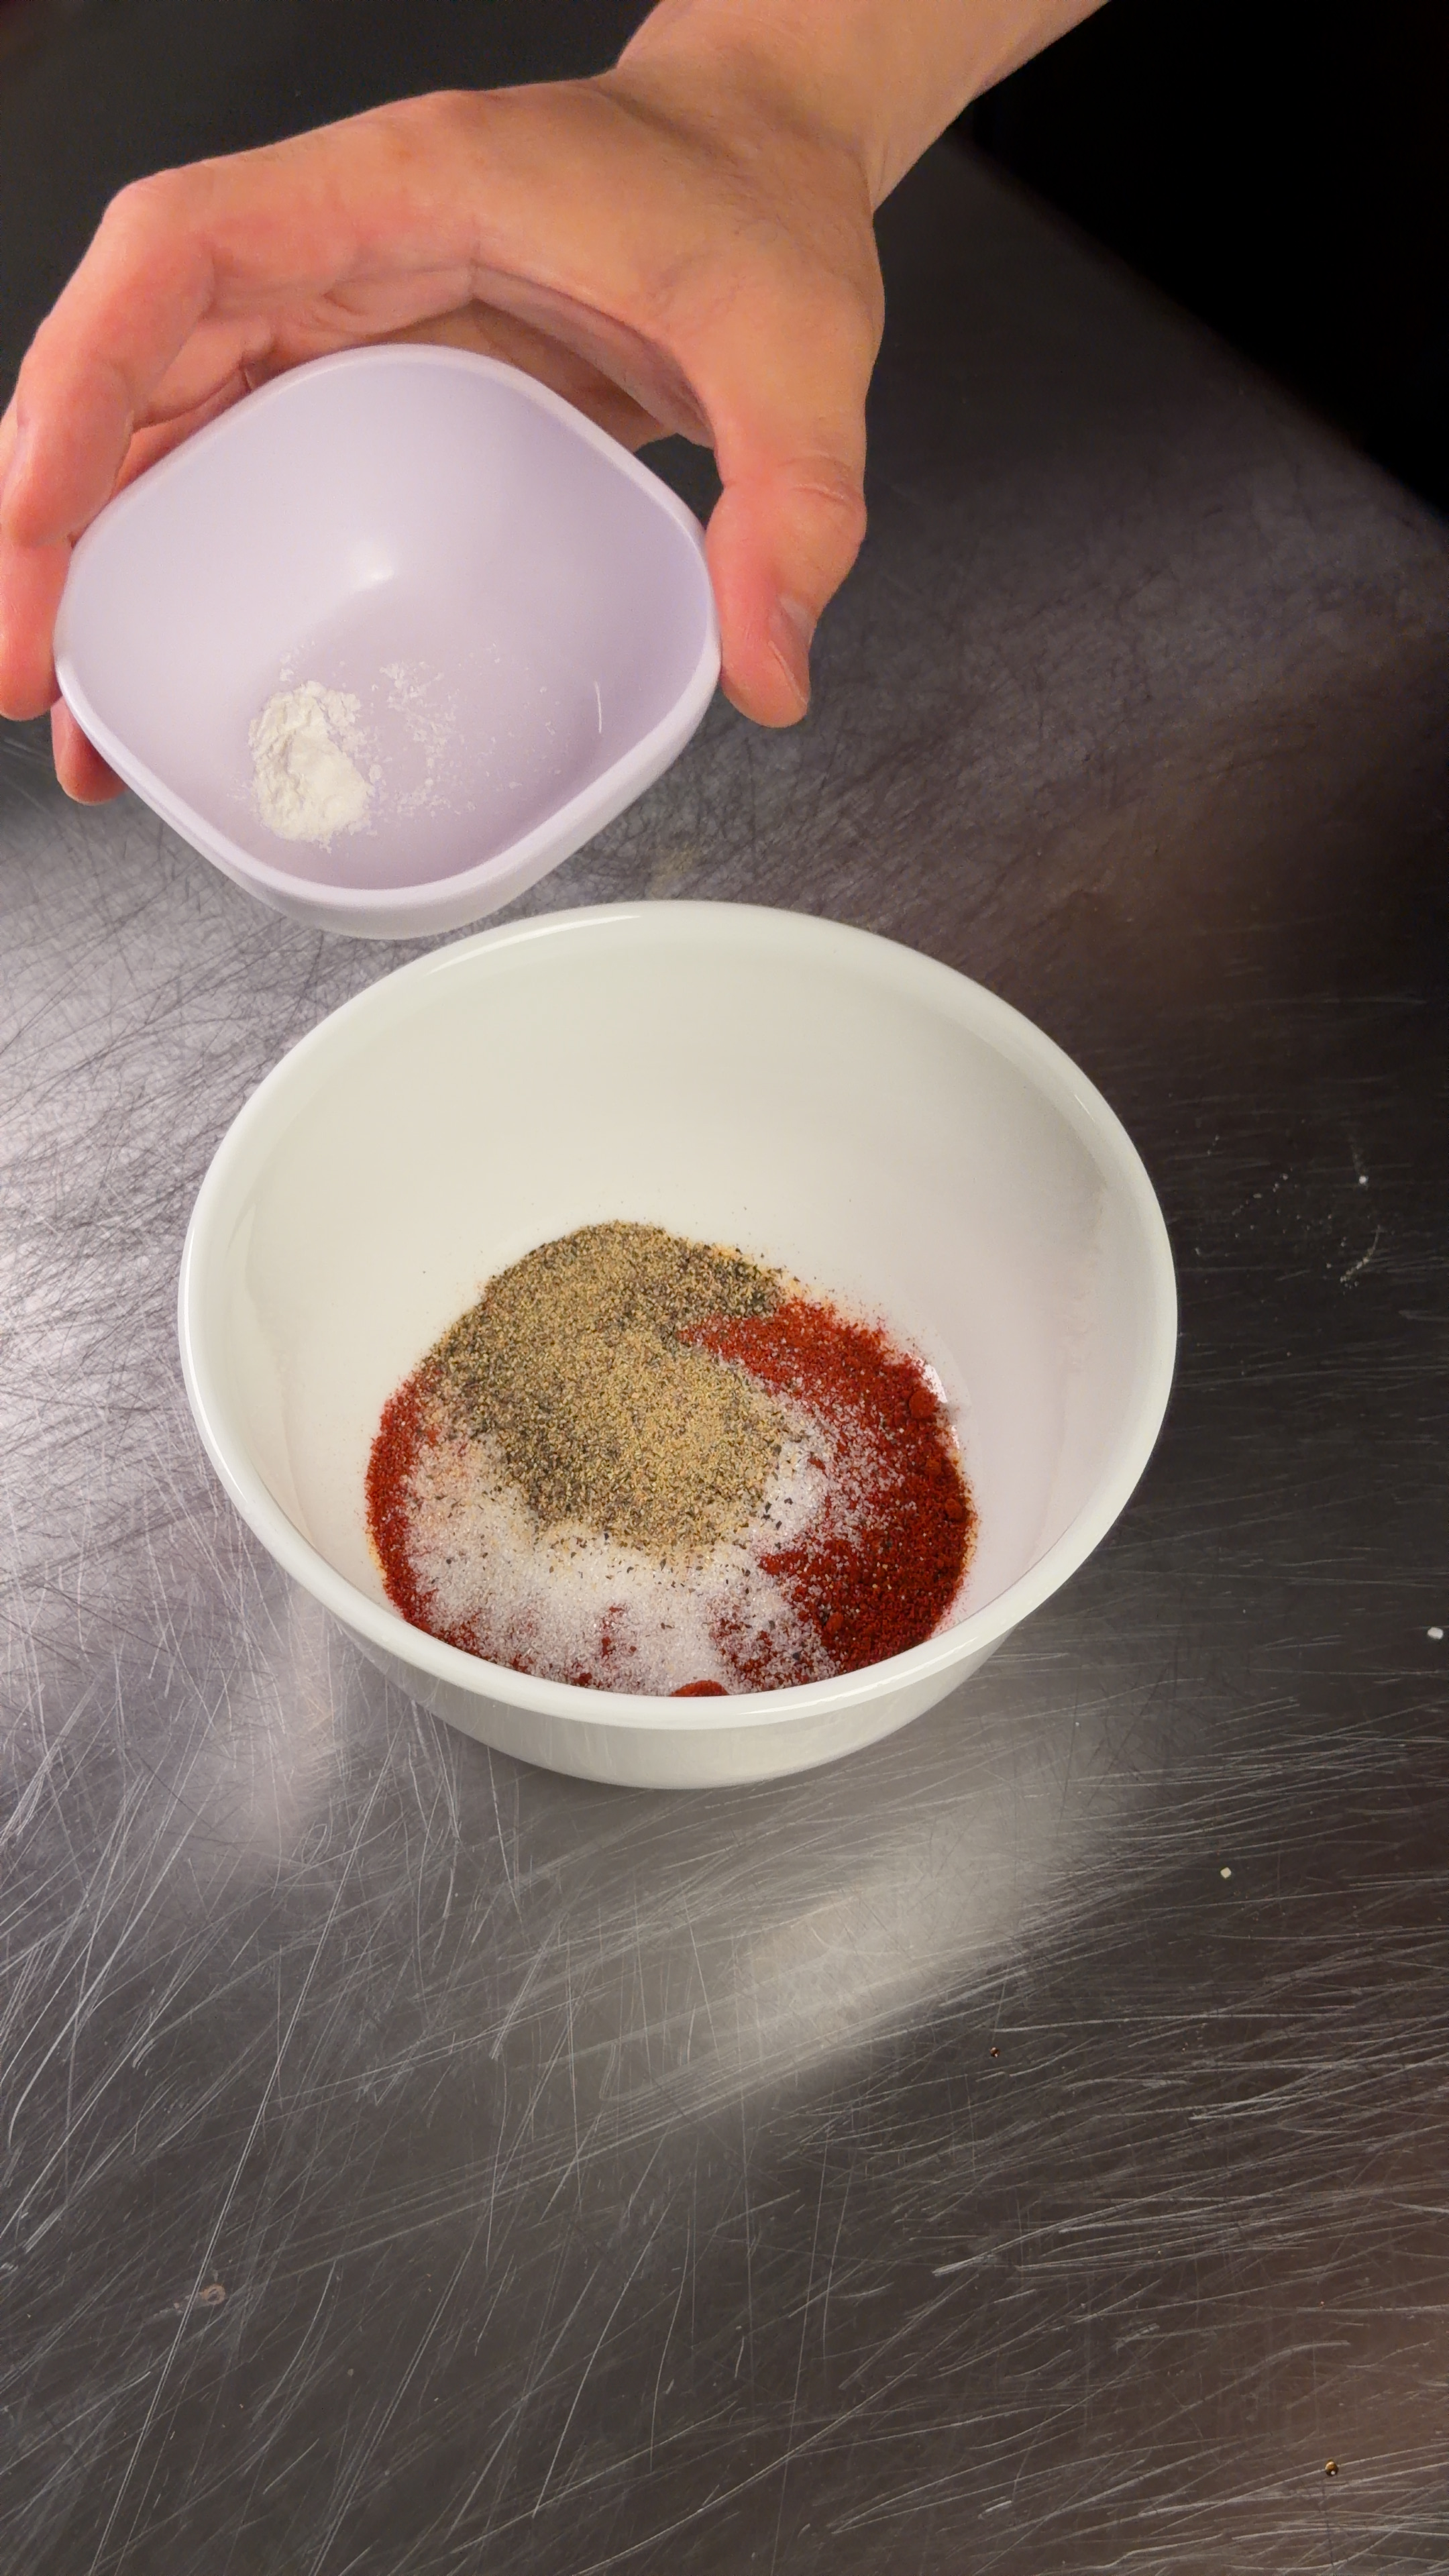
The rub: paprika, garlic powder, onion powder, salt, black pepper, and a small amount of baking powder. The baking powder is the key to deep, even browning on the skin.
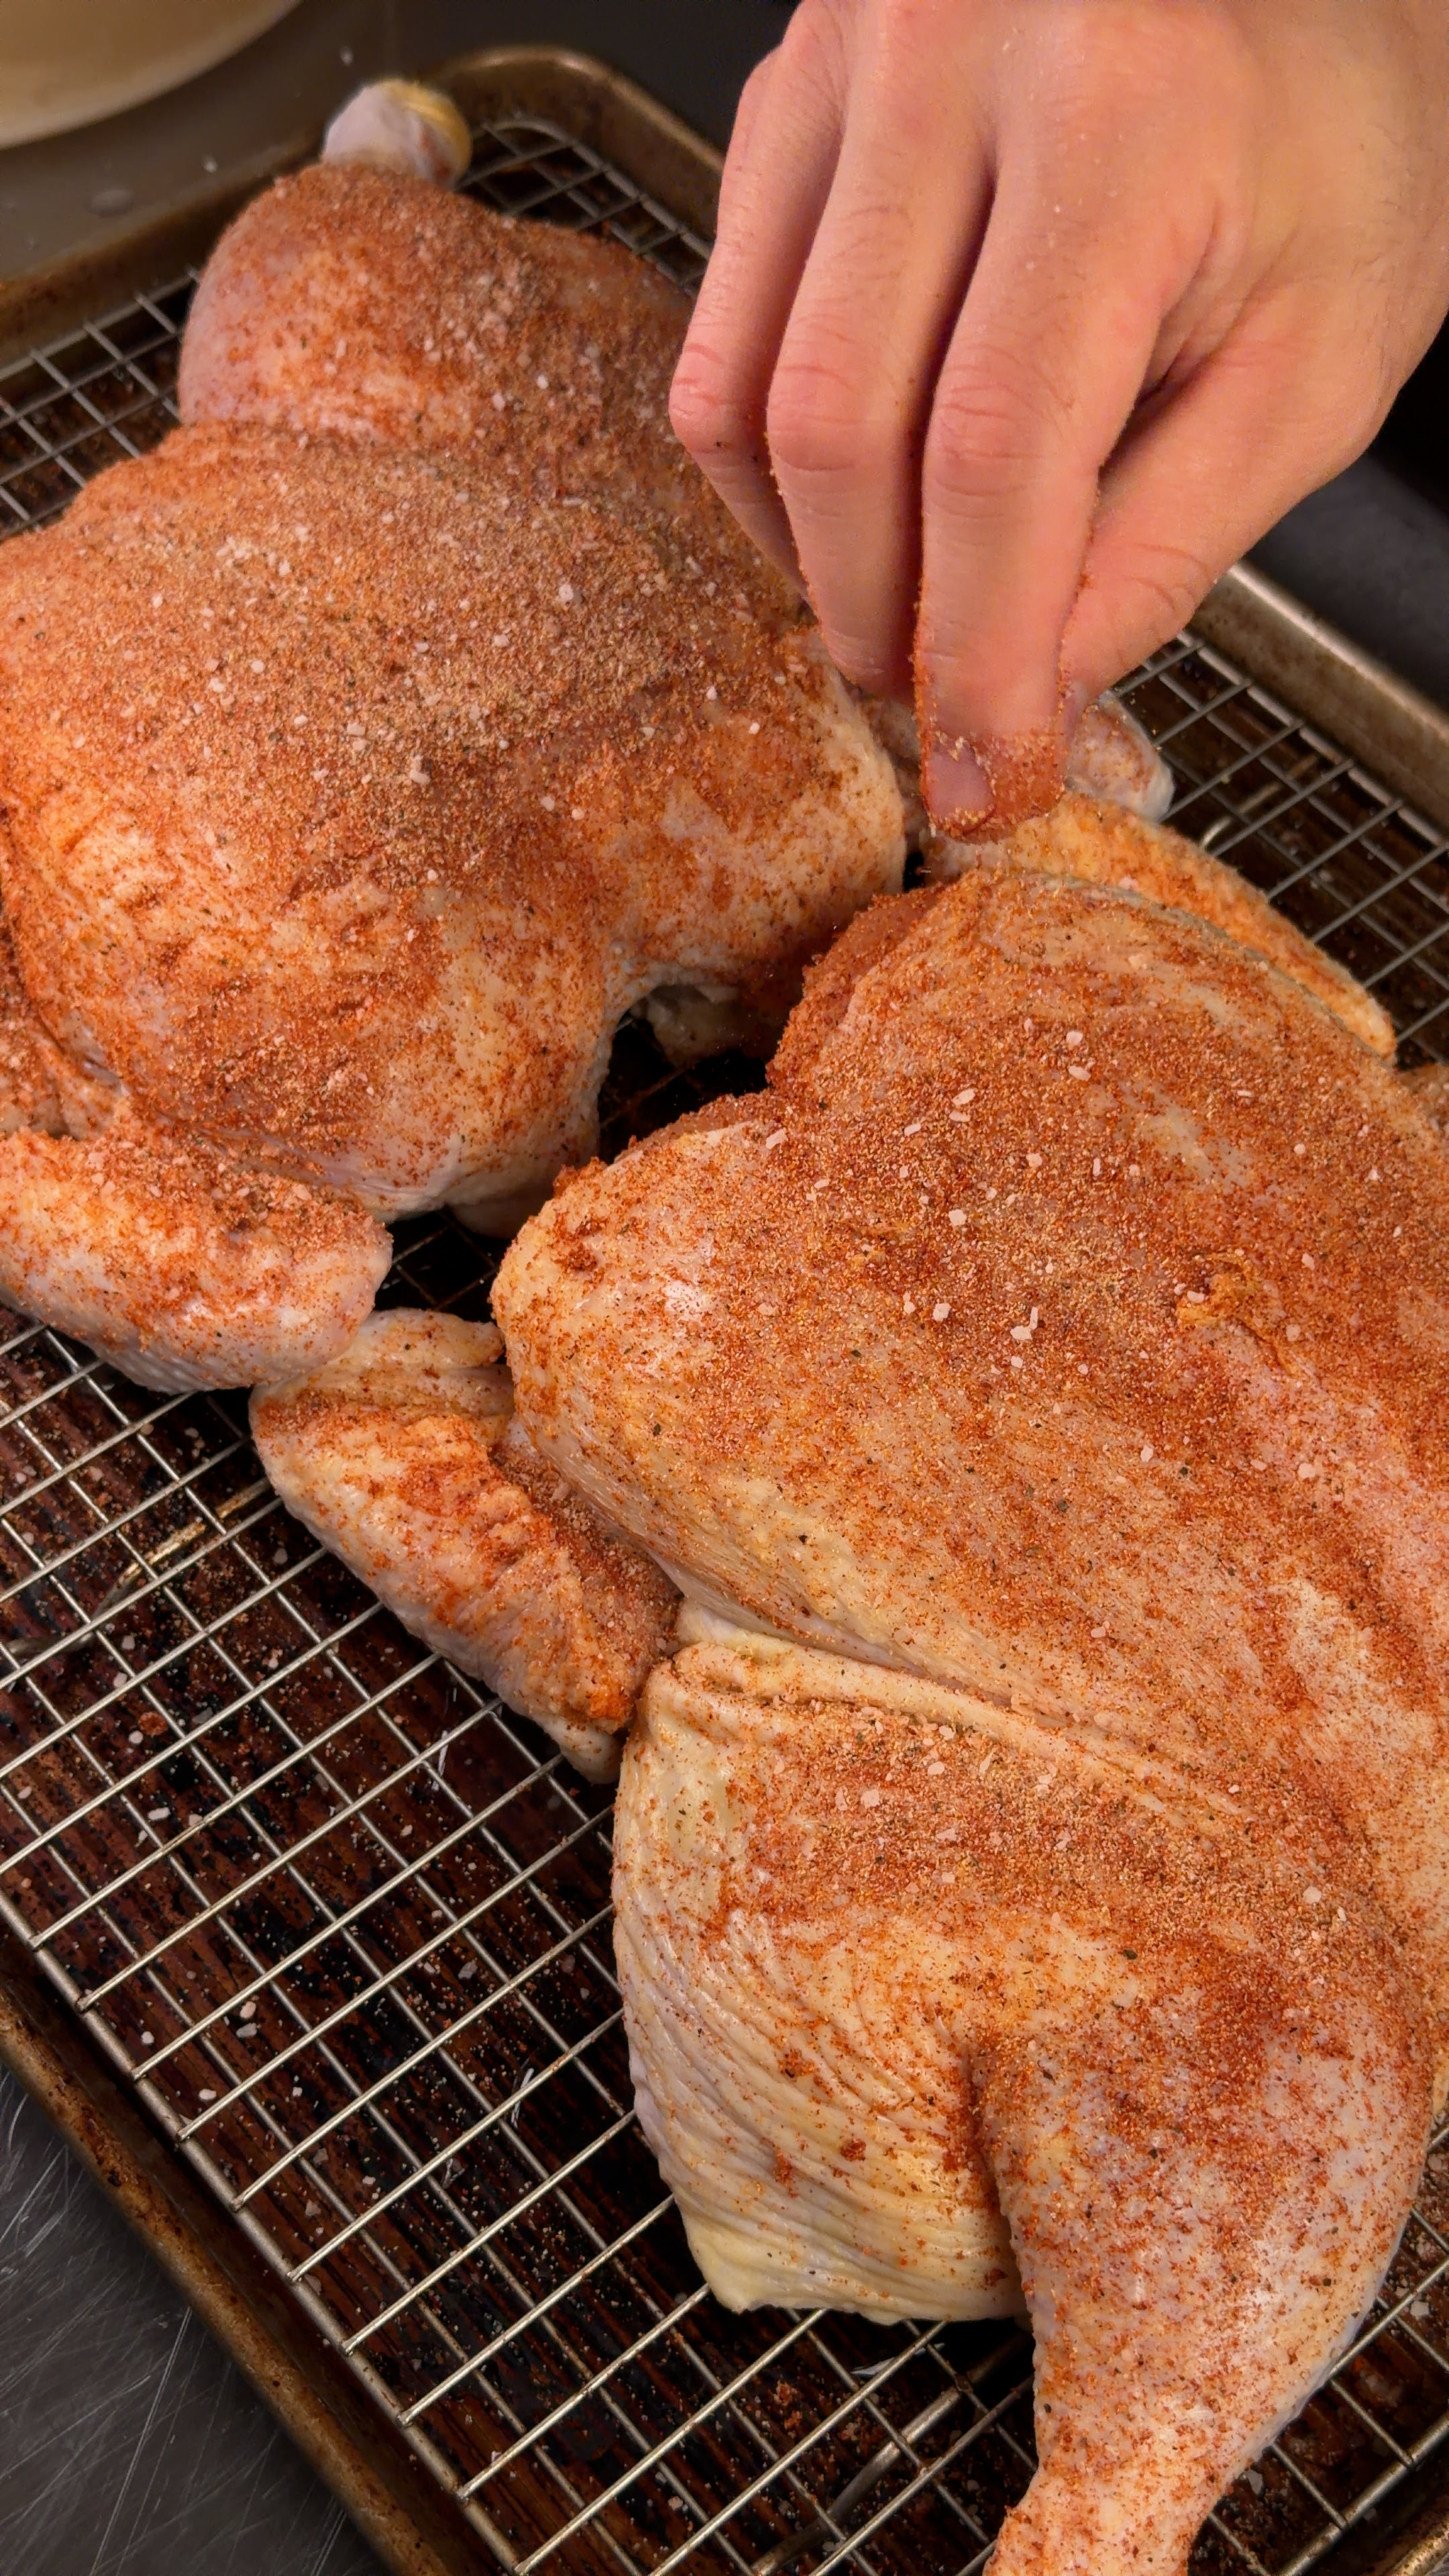
The spice rub goes on the surface of the chicken, which is exactly how commercial operations do it. The salt and spices season the exterior and develop a crust during roasting. But the ingredient doing the most work for the skin is the baking powder.
Baking powder is alkaline and hygroscopic. Alkaline means it raises the pH of the skin surface. Hygroscopic means it draws moisture out of the skin. Both effects accelerate the Maillard reaction, which is the chemical process responsible for browning. The result is skin that colors faster, browns more evenly, and develops deeper flavor at the same oven temperature compared to a rub without it.
This is why Costco birds look so uniformly golden. The sodium phosphate in their brine handles moisture inside the meat. The surface treatment handles color and texture on the outside. The two work on completely different parts of the chicken.
Spatchcocking: the rotisserie effect without the rotisserie
A rotisserie achieves even browning by slowly rotating the bird so every surface gets equal exposure to the heat source. A home oven cannot do that. The heating element stays fixed, which means one side of a whole trussed chicken always faces away from the heat, browning unevenly and cooking at a different rate than the rest of the bird.
Spatchcocking solves this. Removing the backbone and flattening the bird eliminates the awkward rounded geometry of a whole chicken and lays nearly the entire skin surface facing up, directly exposed to the oven's heat. You get the same uniform browning and even cook that a rotisserie delivers, without any special equipment.
It also solves the temperature problem. The breast and thigh need different amounts of heat to cook properly. In a standard roast, the thigh finishes well after the breast, which means the breast is usually overcooked by the time the thigh gets there. Spatchcocking puts both in the same horizontal plane so they cook closer together, and you can pull the whole bird at once.
The dry rest for crispier skin
After seasoning, the chicken rests uncovered on a rack in the fridge. The surface dehydrates, which is what allows it to crisp in the oven instead of steam.
After brining and seasoning, resting the chicken uncovered on a rack in the fridge for at least 4 hours is the step that separates crispy skin from rubbery skin. It is optional if you are short on time, but the difference is noticeable.
Here is what happens: the cold dry air of the refrigerator pulls moisture out of the skin surface. When that dehydrated skin hits a 425°F oven, it renders and crisps immediately. When moist skin hits the same temperature, the surface water turns to steam first, which delays browning and produces a softer result no matter how long you cook it.
This is the one area where home ovens have a genuine advantage over the Costco rotisserie. The rotisserie surrounds the bird with humid hot air, which is why Costco chicken has soft, golden skin. Yours will have an actual crunch.
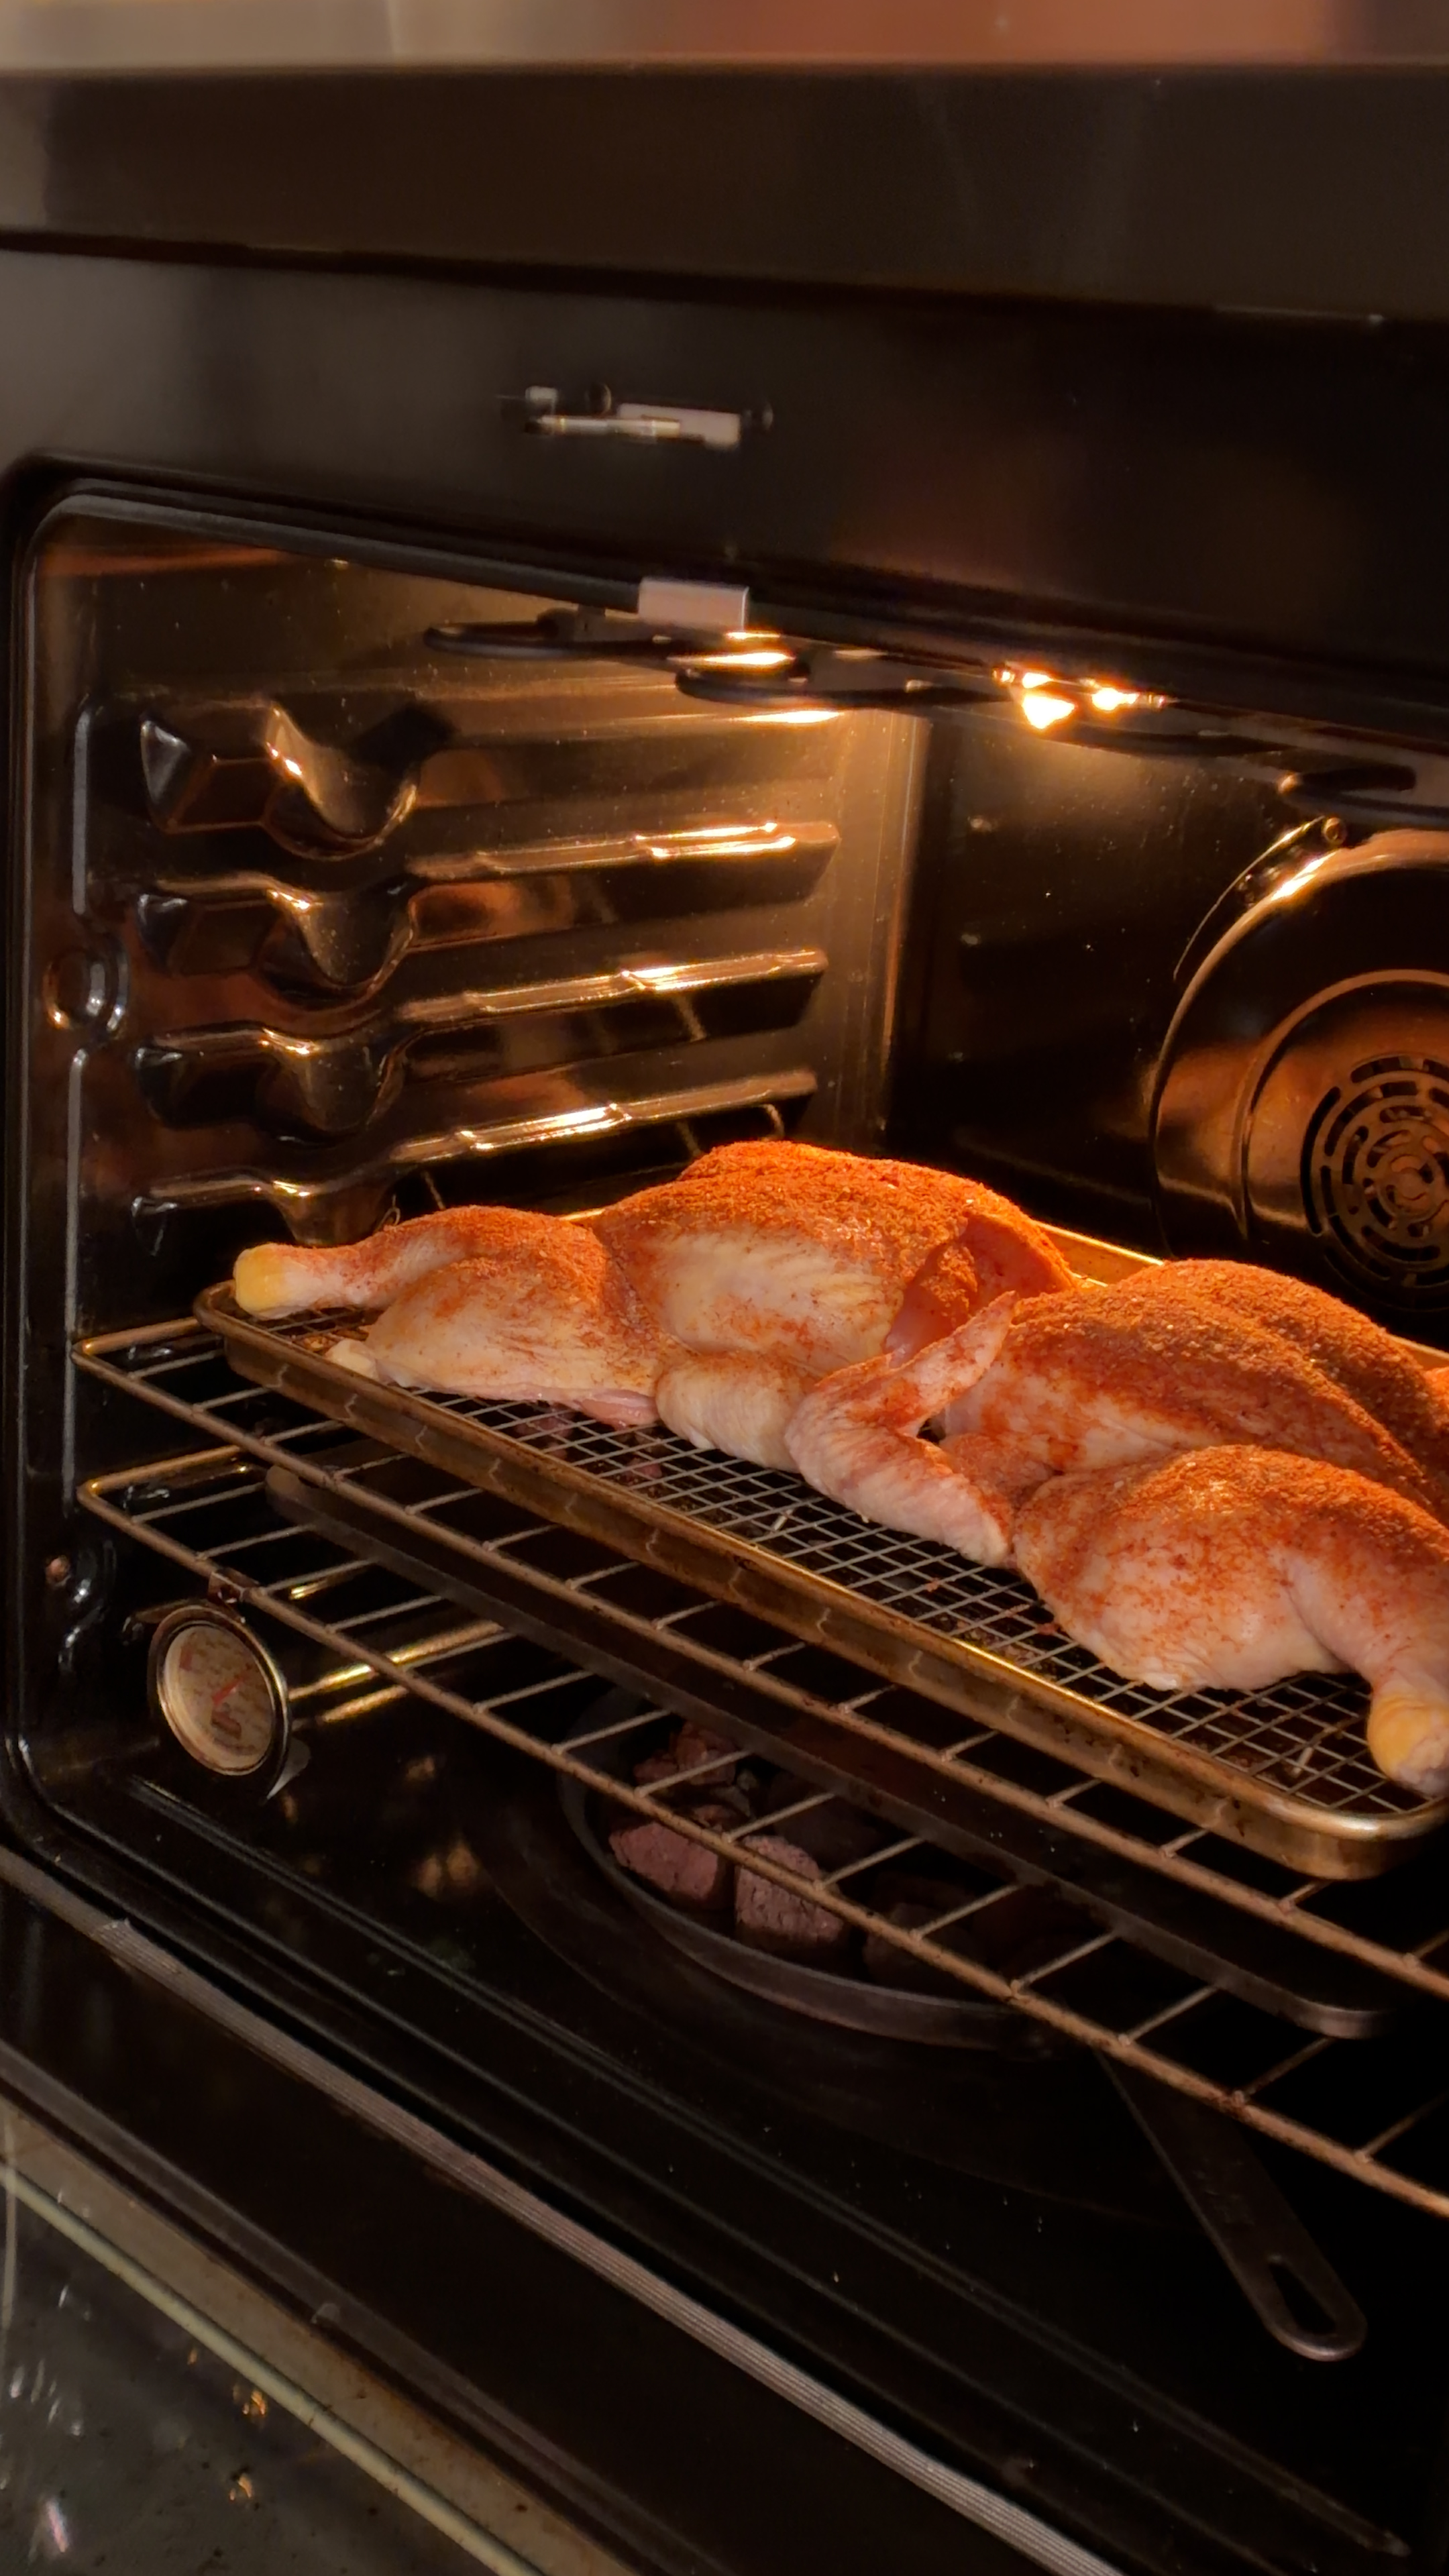
Skin-side up on a rack at 425°F (218°C). The elevated rack lets hot air circulate underneath so the bottom does not steam against the pan.
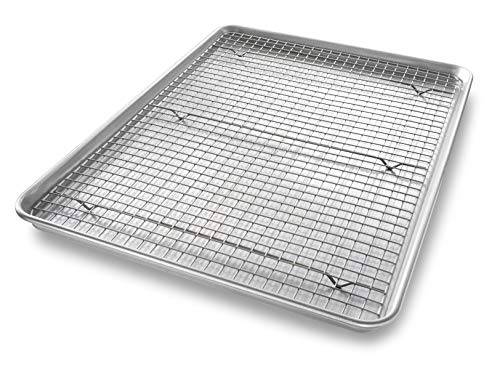
The rack matters. Setting the chicken directly on a baking sheet traps steam underneath and produces a soft bottom. Elevating it on a wire rack lets air circulate on all sides. The baking sheet below catches the drippings.
Roast for 45 to 50 minutes. Pull it when the breast reads 160°F — the breast dries out quickly, so do not overshoot it. The thighs and legs will likely read higher, around 180 to 185°F. That is fine. Dark meat has more fat and connective tissue and stays juicy at higher temperatures. Rest for 10 minutes before carving. Carryover heat brings the breast to 165°F during the rest.
Three tools that make a real difference on this recipe.
Jaccard 48-Blade Meat Tenderizer
The closest thing to commercial injection you can do at home. Run it over the breast and thigh before brining and the solution penetrates deeper and more evenly through the thickest parts. Makes a real difference in the final moisture level.
The pan used in this recipe. Heavy-gauge aluminized steel so it does not warp at high heat, and the included rack elevates the chicken so hot air circulates underneath. Crimped surface and USA-made. Holds up to heavy use.
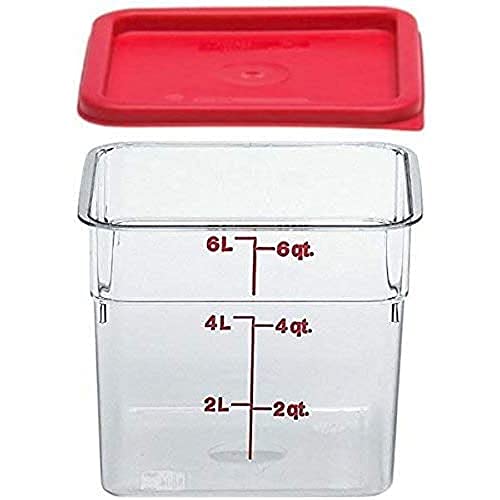
What restaurants use for brining. Straight sides make submerging a spatchcocked bird much easier than a zip-top bag, and the tight-fitting lid means no smells in your fridge. Polycarbonate is safe for acidic brines and dishwasher safe.
Dawn Power Wash is a genuinely good formula. Read the ingredient list and you can see exactly why it works, and that you can build the same thing at home for about a quarter of the price. Here is the science, the recipe, and a side by side test.